How I Pack My Patagonia Refugio 30L for One-Bag Travel (Exact Layout + Why)
AFFILIATE DISCLOSURE: This post contains affiliate links. Links marked with (*) may earn me a small commission if you purchase, at no extra cost to you. (I only recommend things I personally use and love!). As an Amazon Associate I earn from qualifying purchases.
I travel with an everyday-sized 30-liter backpack and a small sling. This minimalist setup gives me a ton of freedom: the backpack is not only carry-on-friendly, but small enough to fit under the seat. But it took a lot of trial and error to find both the right bag for my needs – the Patagonia Refugio 30L (*) – and a layout that consistently works.
My one-bag setup is built for indefinite, four-season travel, so the approach in this post isn’t tied to a specific destination or climate. Since clothing is usually the biggest space hog, I keep my wardrobe tight by doing laundry 1–2 times per week (details in my travel capsule wardrobe and portable laundry system posts).
In this post, I’m focusing on the packing layout – how everything fits inside my 30L backpack. If you want the full inventory of what I bring (with exact items), start with my full packing list for indefinite travel. And for the most work inside this layout, I also wrote about the 8 items that make my one-bag system work.
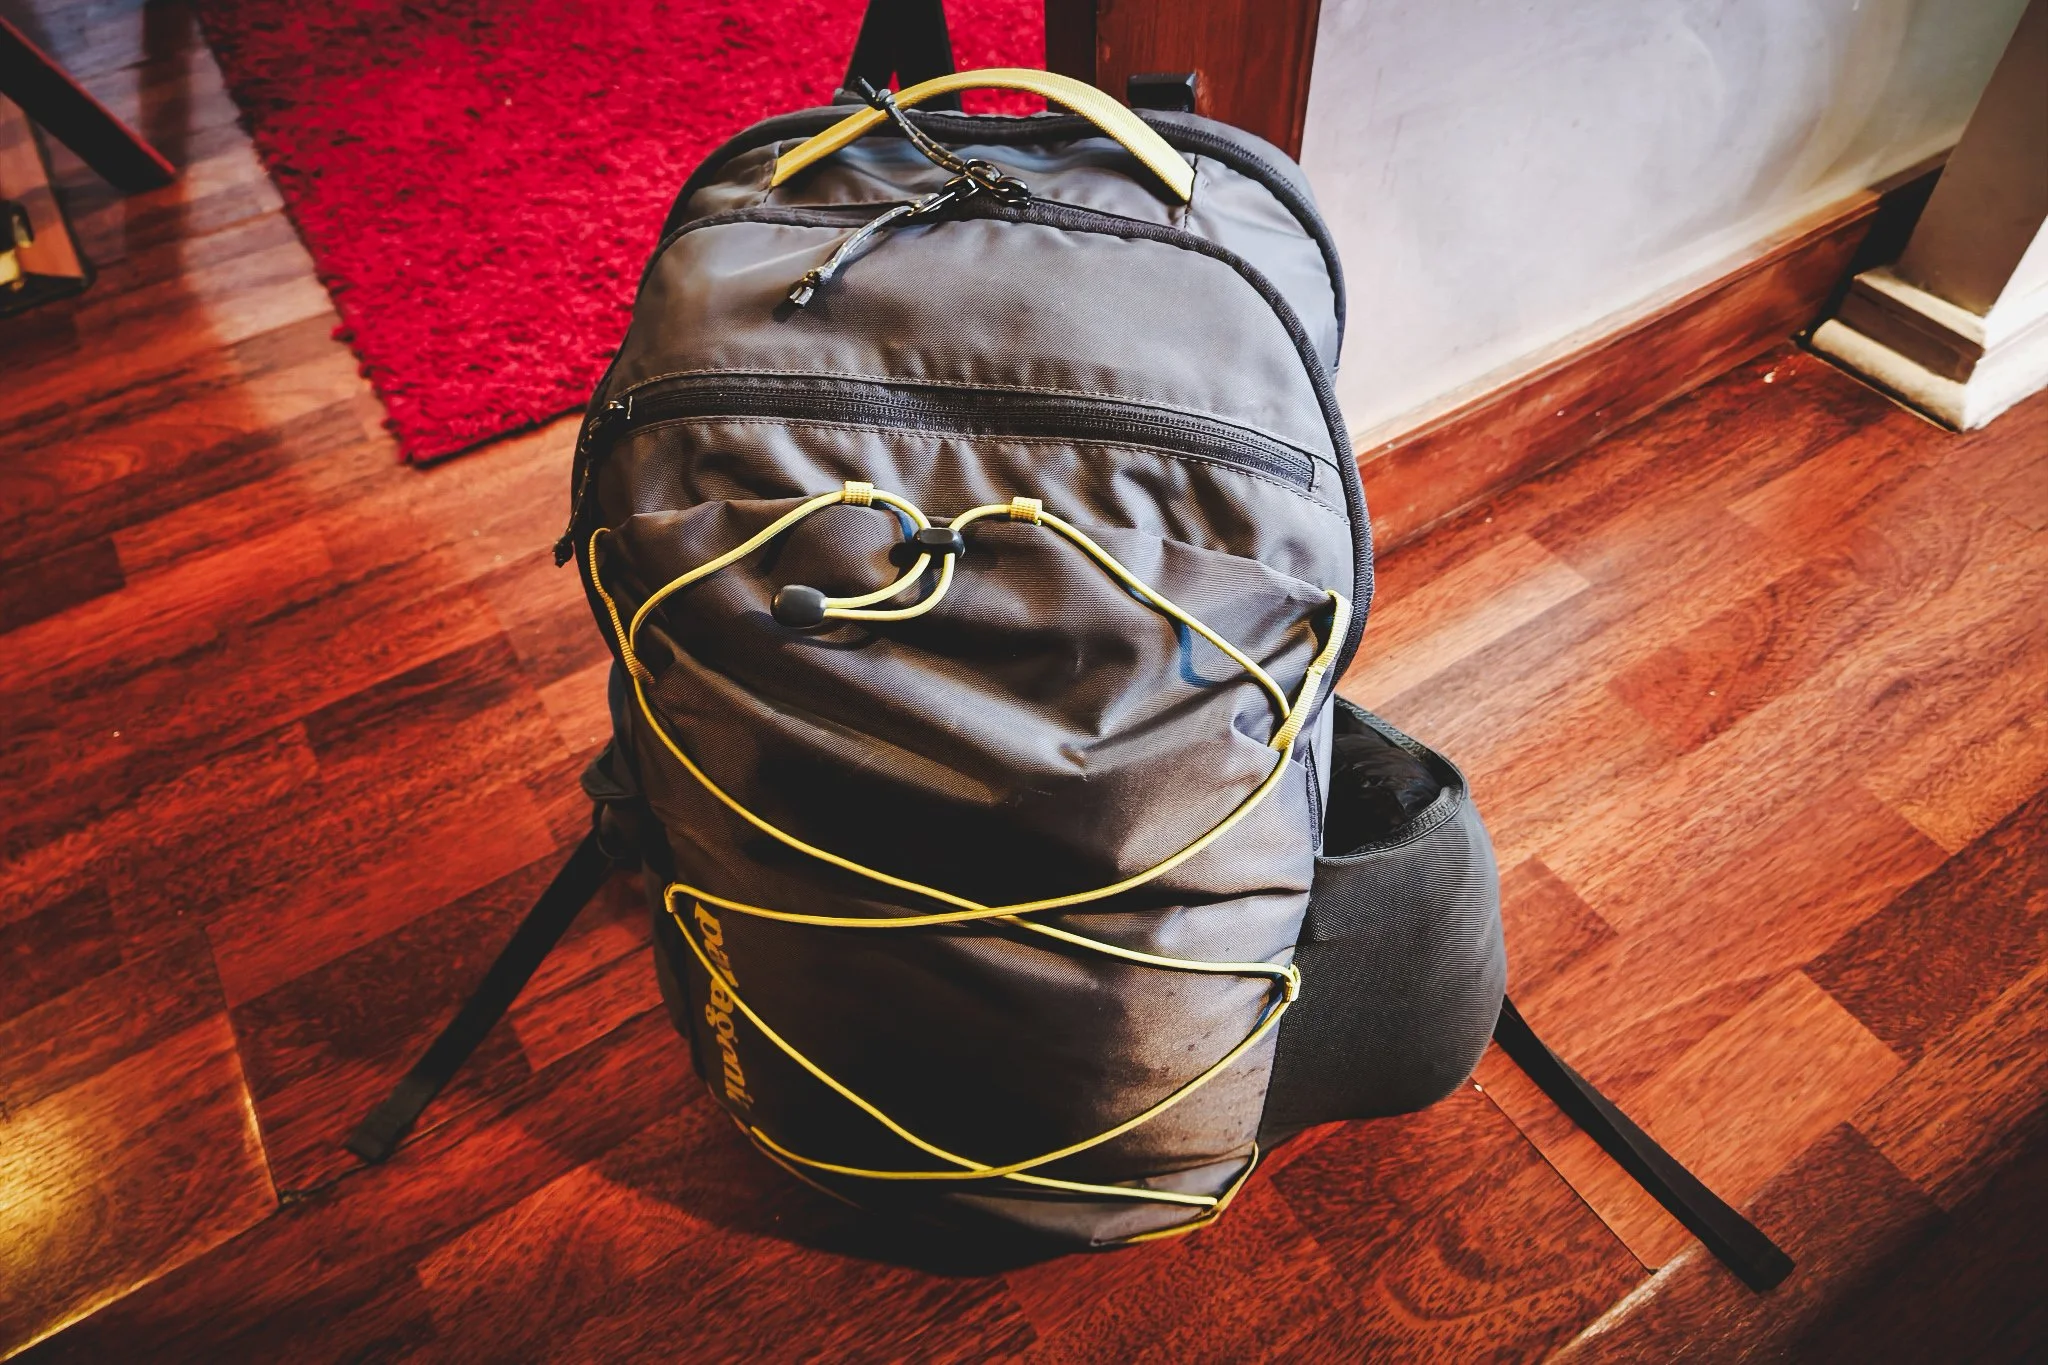
The Backpack: Patagonia Refugio 30L
Note: Patagonia released a major redesign of the Refugio line in February 2026. My backpack is the previous version (the one that had been around for several years), so that’s what I’m describing here. I haven’t used the new version, so I can’t vouch for how it packs in practice. (But here is the current version of the backpack: Patagonia Refugio 30L (*).)
I’ll write a dedicated post on why I’ve stuck with this backpack for one-bag travel, but here’s the quick layout overview so the rest of this post makes sense.
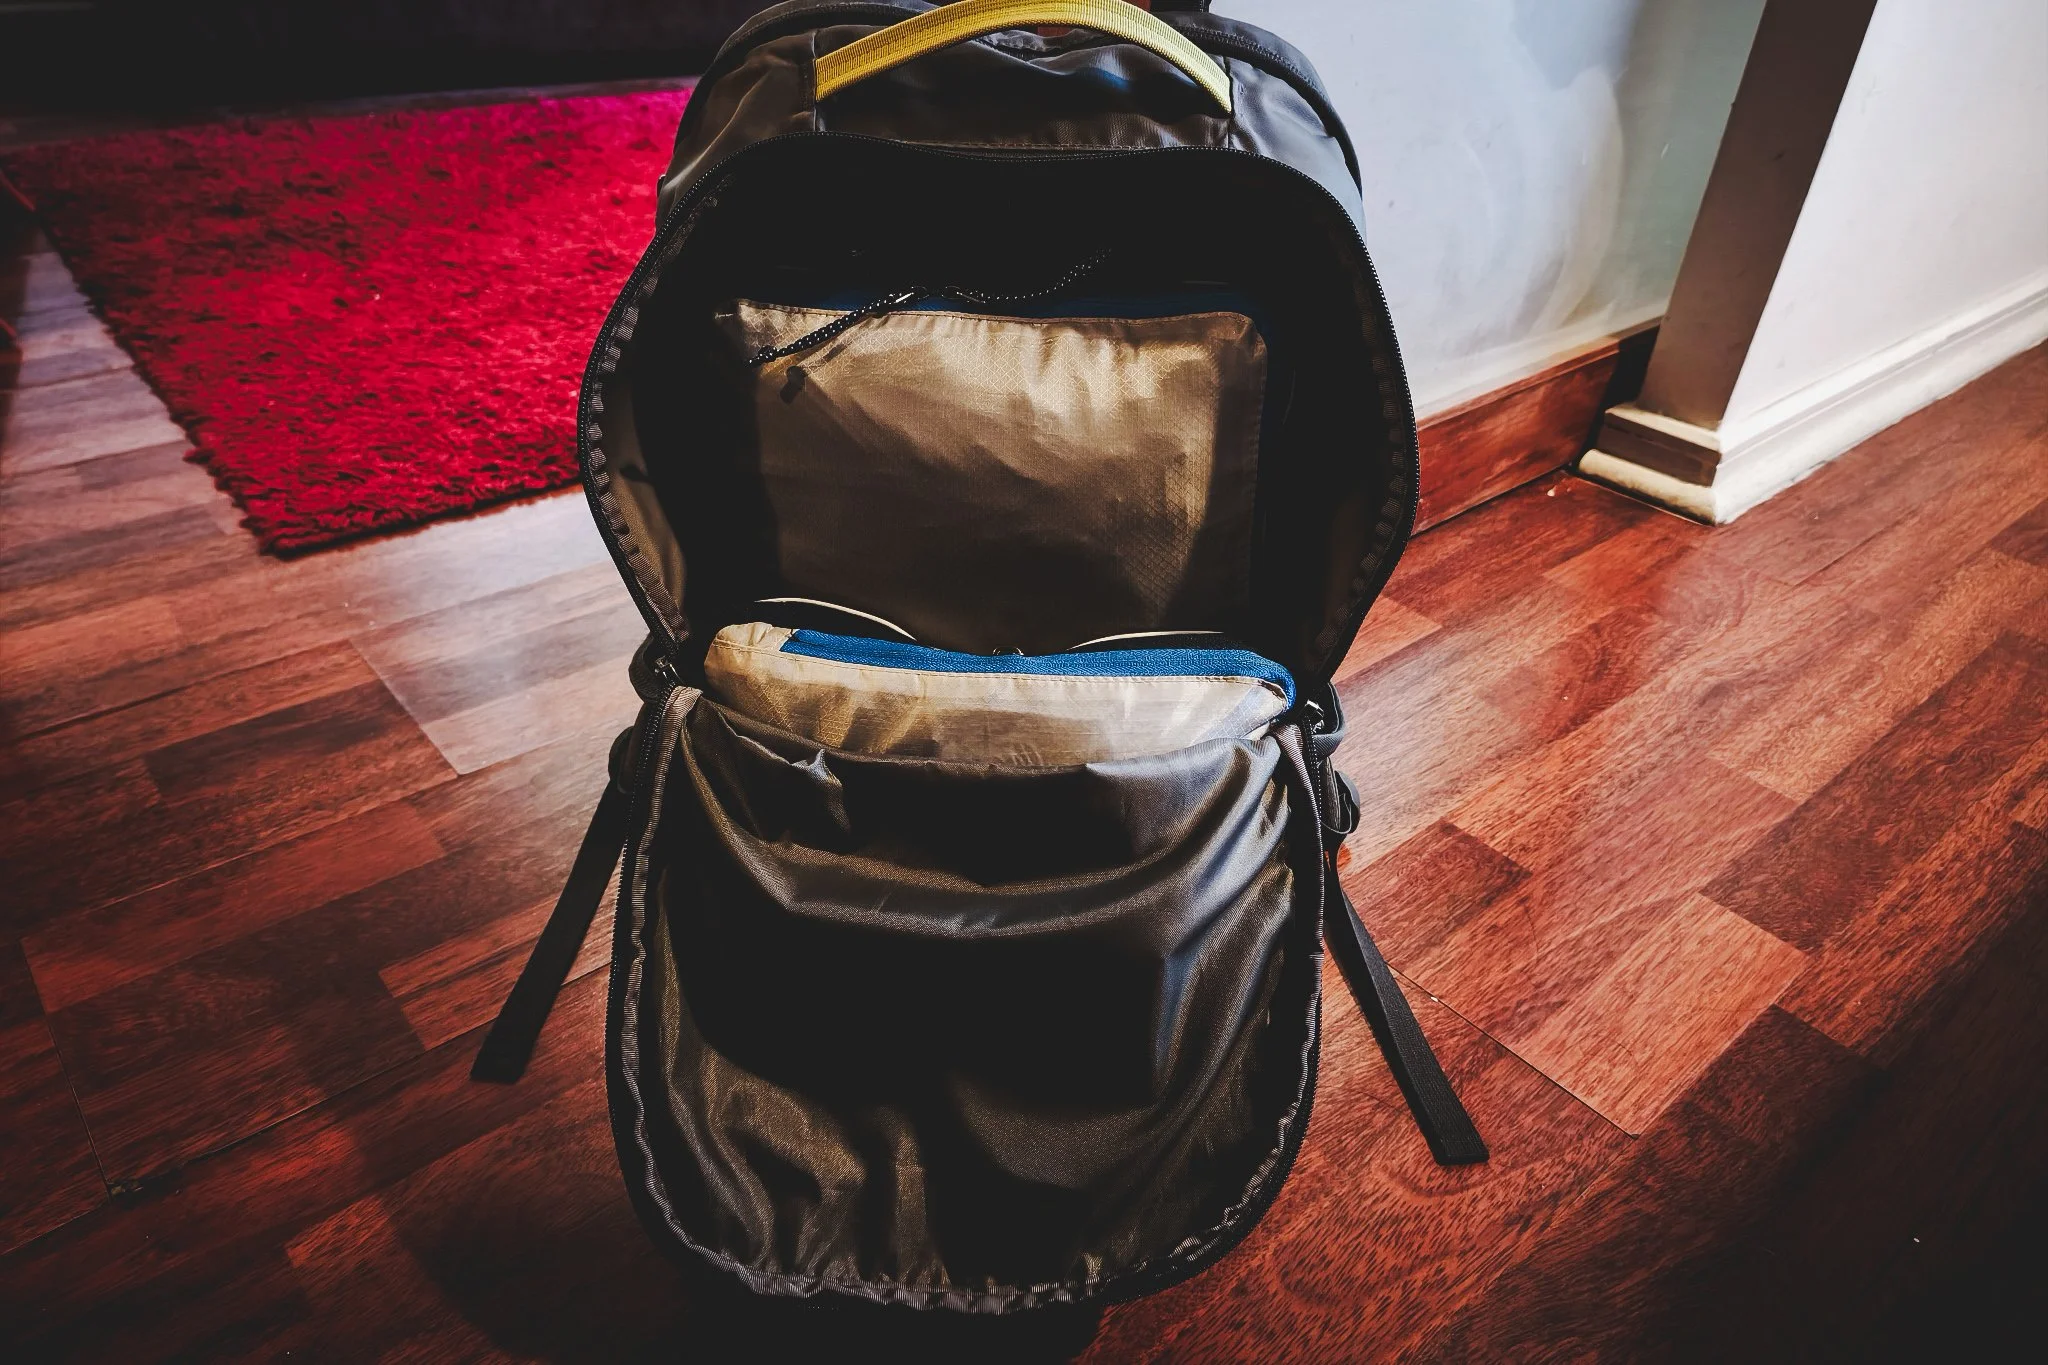
Pocket and compartment layout (old version)
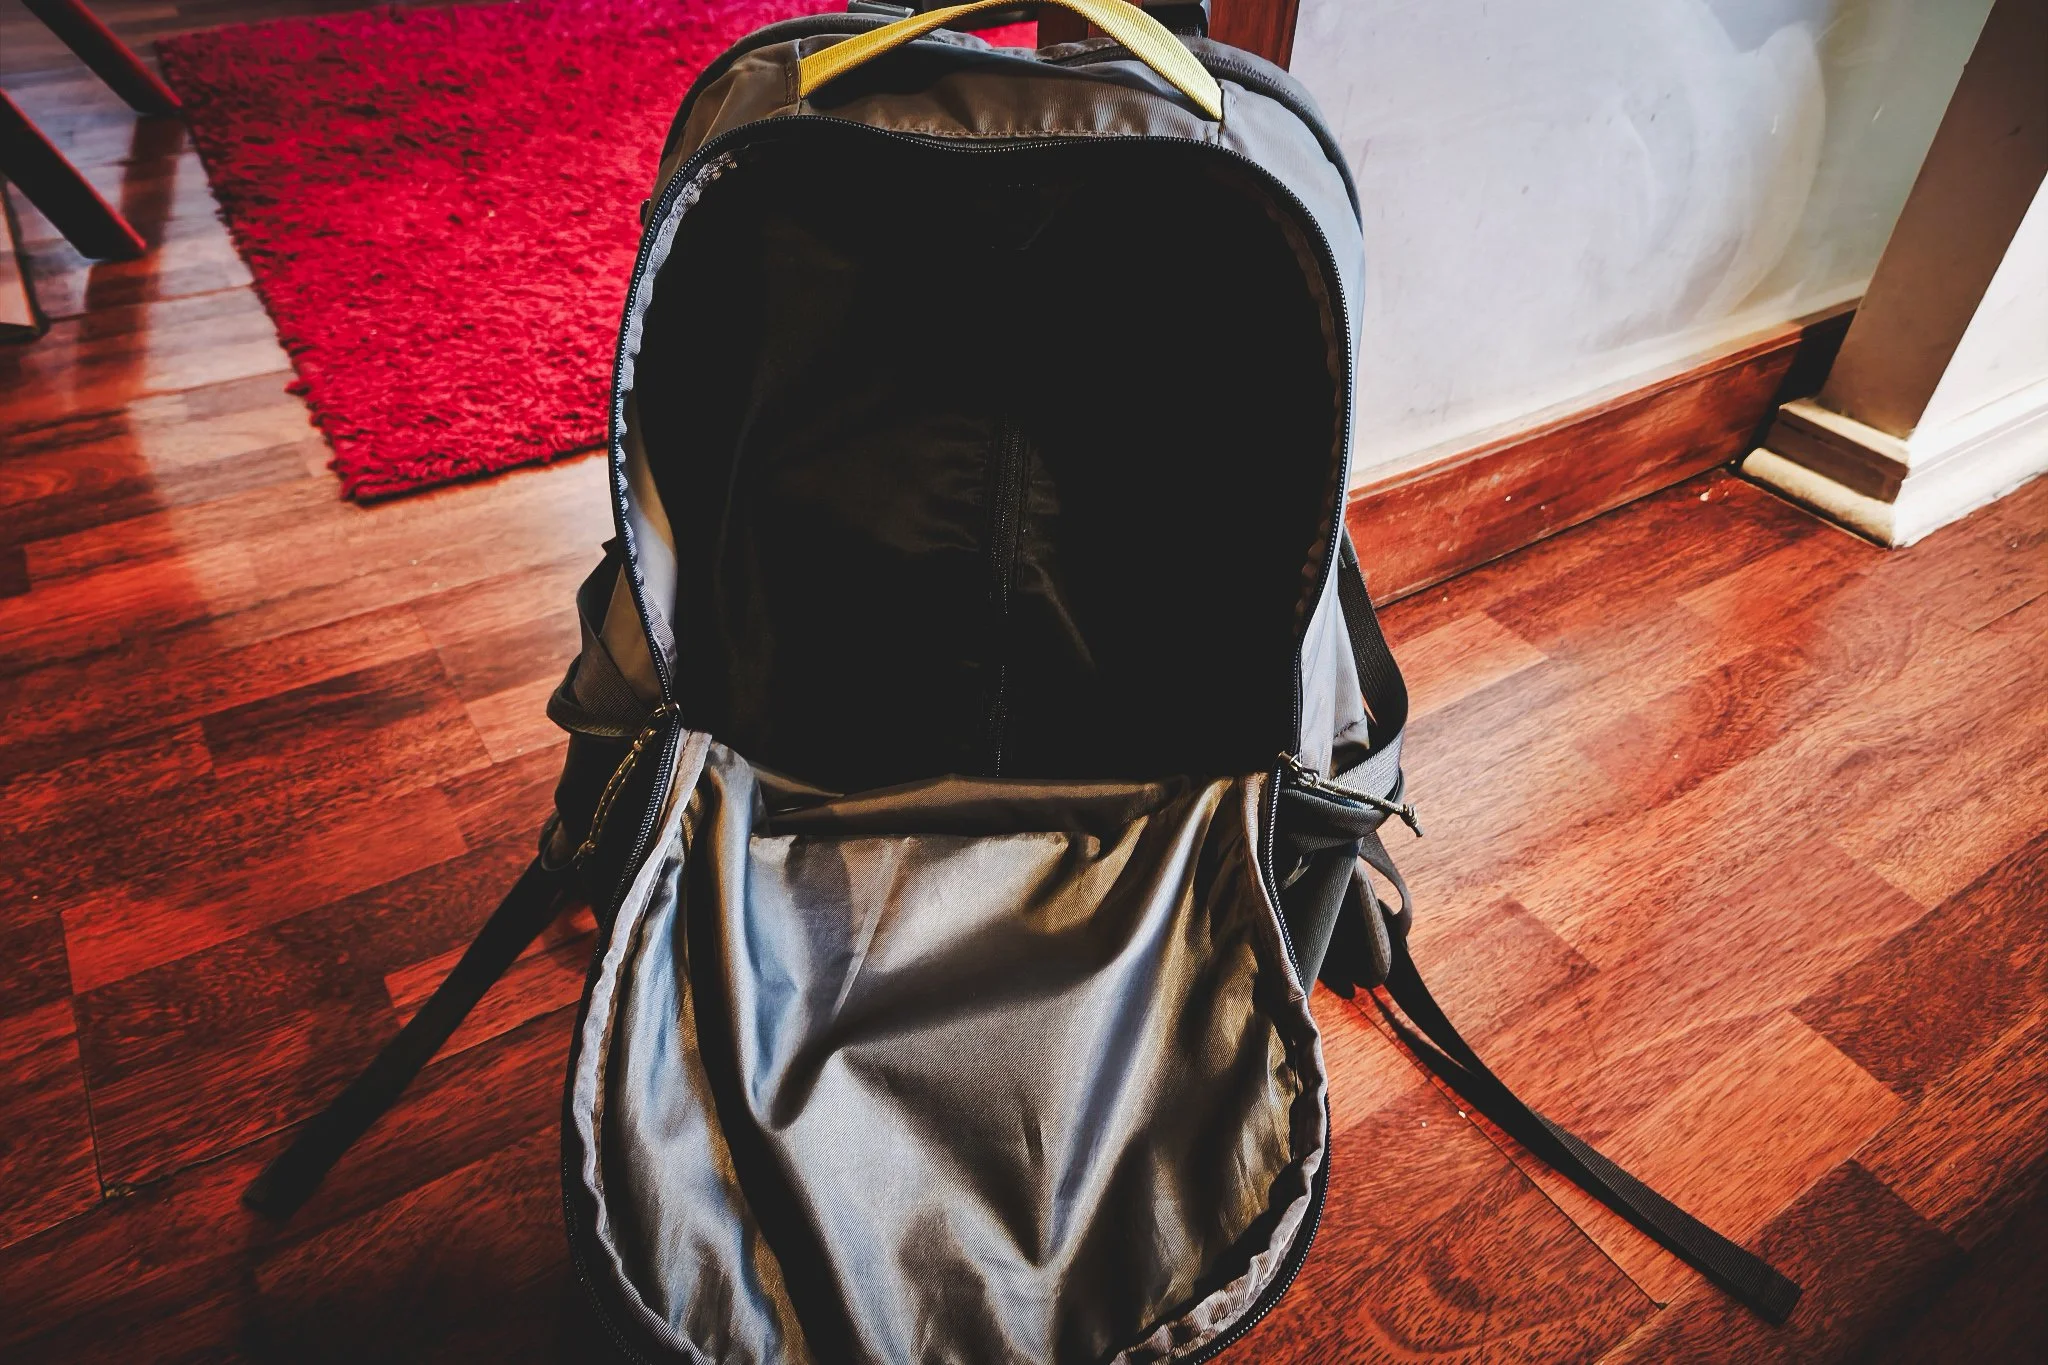
Main compartment: one large bucket-style space with no internal pockets (which I actually prefer)
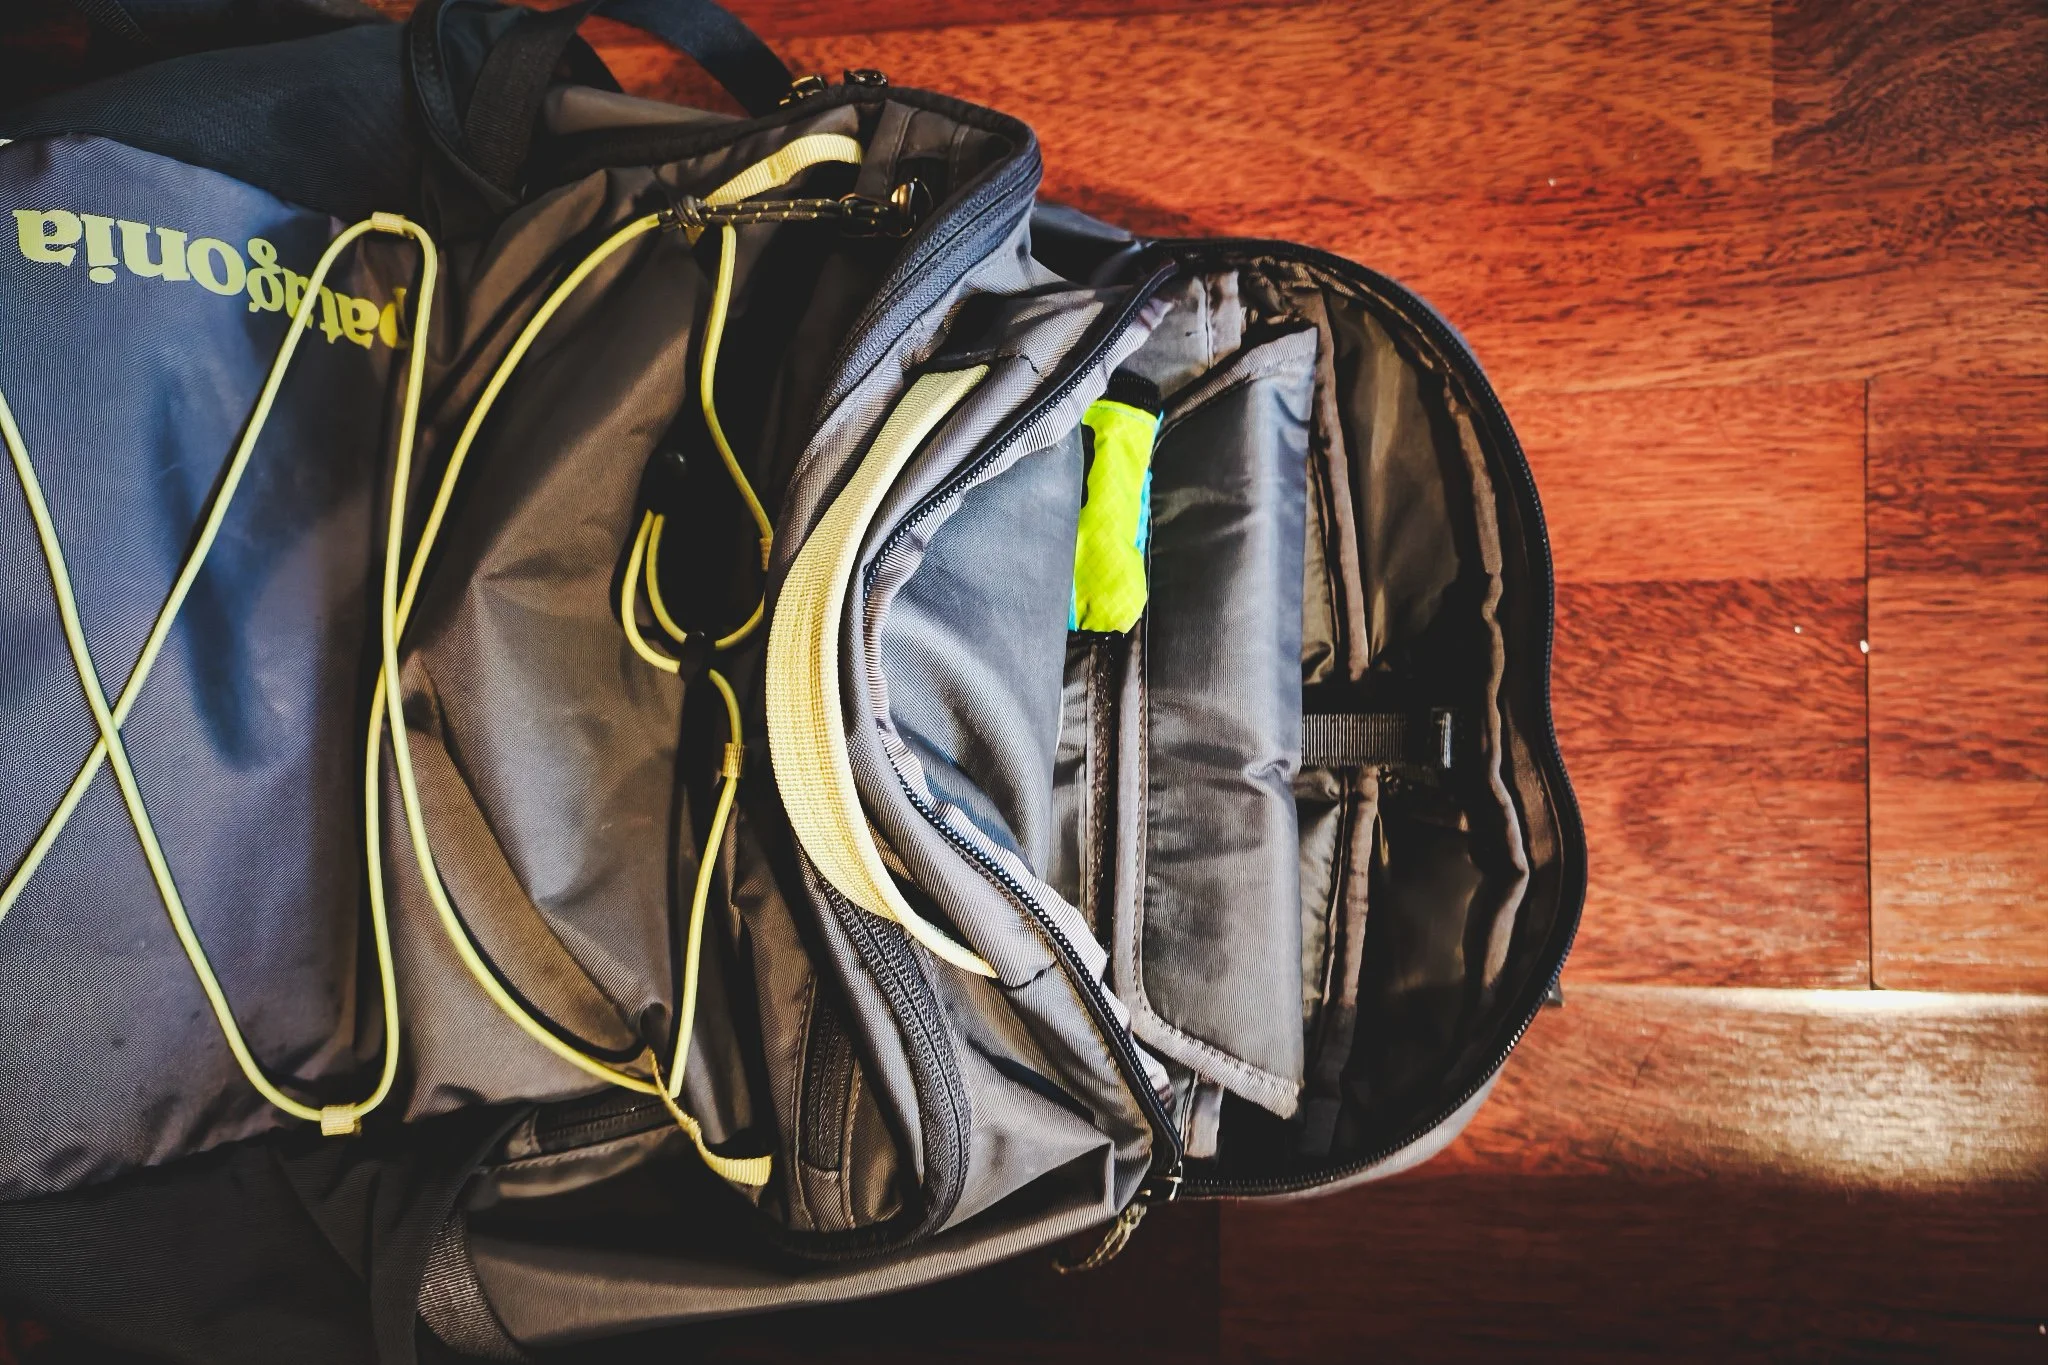
Front pocket: small and easy-access
Laptop sleeve: padded
Side pockets: two mesh pockets
Front bungee cord: useful for overflow or quick-grab layers
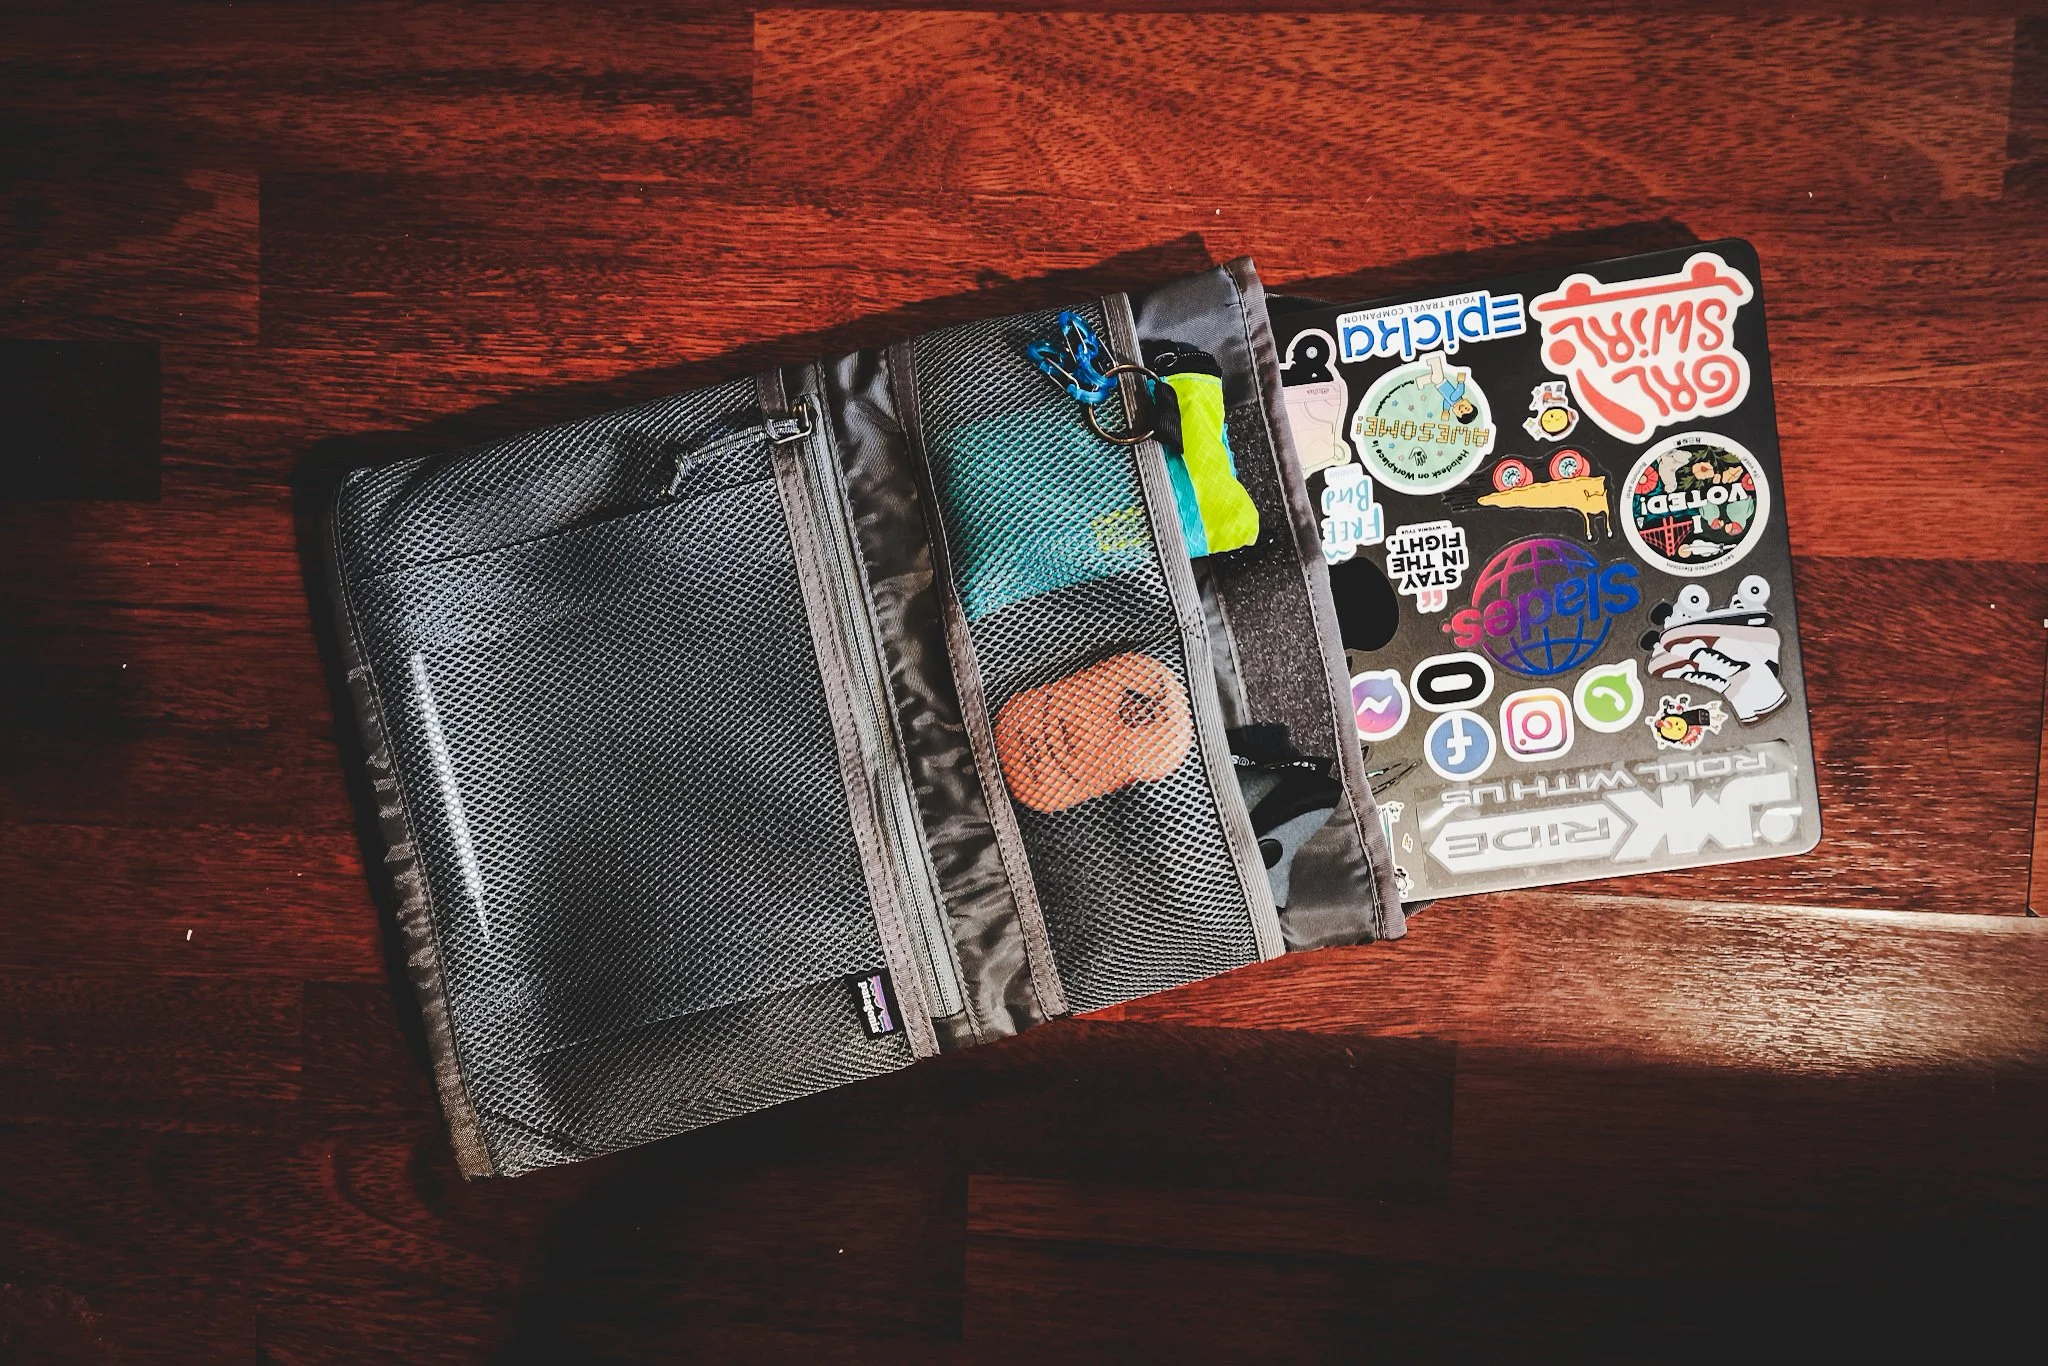
Inside the laptop sleeve, the bag also includes a removable tech organizer: it has a laptop compartment (my 14-inch MacBook Pro fits comfortably) plus mesh pockets for smaller items.
Why this works for my one-bag packing style
Overall, the bag feels lightweight and fairly minimalist – no overly “designed” pocket system competing with my packing cubes and pouches. The squarer shape also makes the whole bag, including the corners, usable space, so I can use its whole volume efficiently.
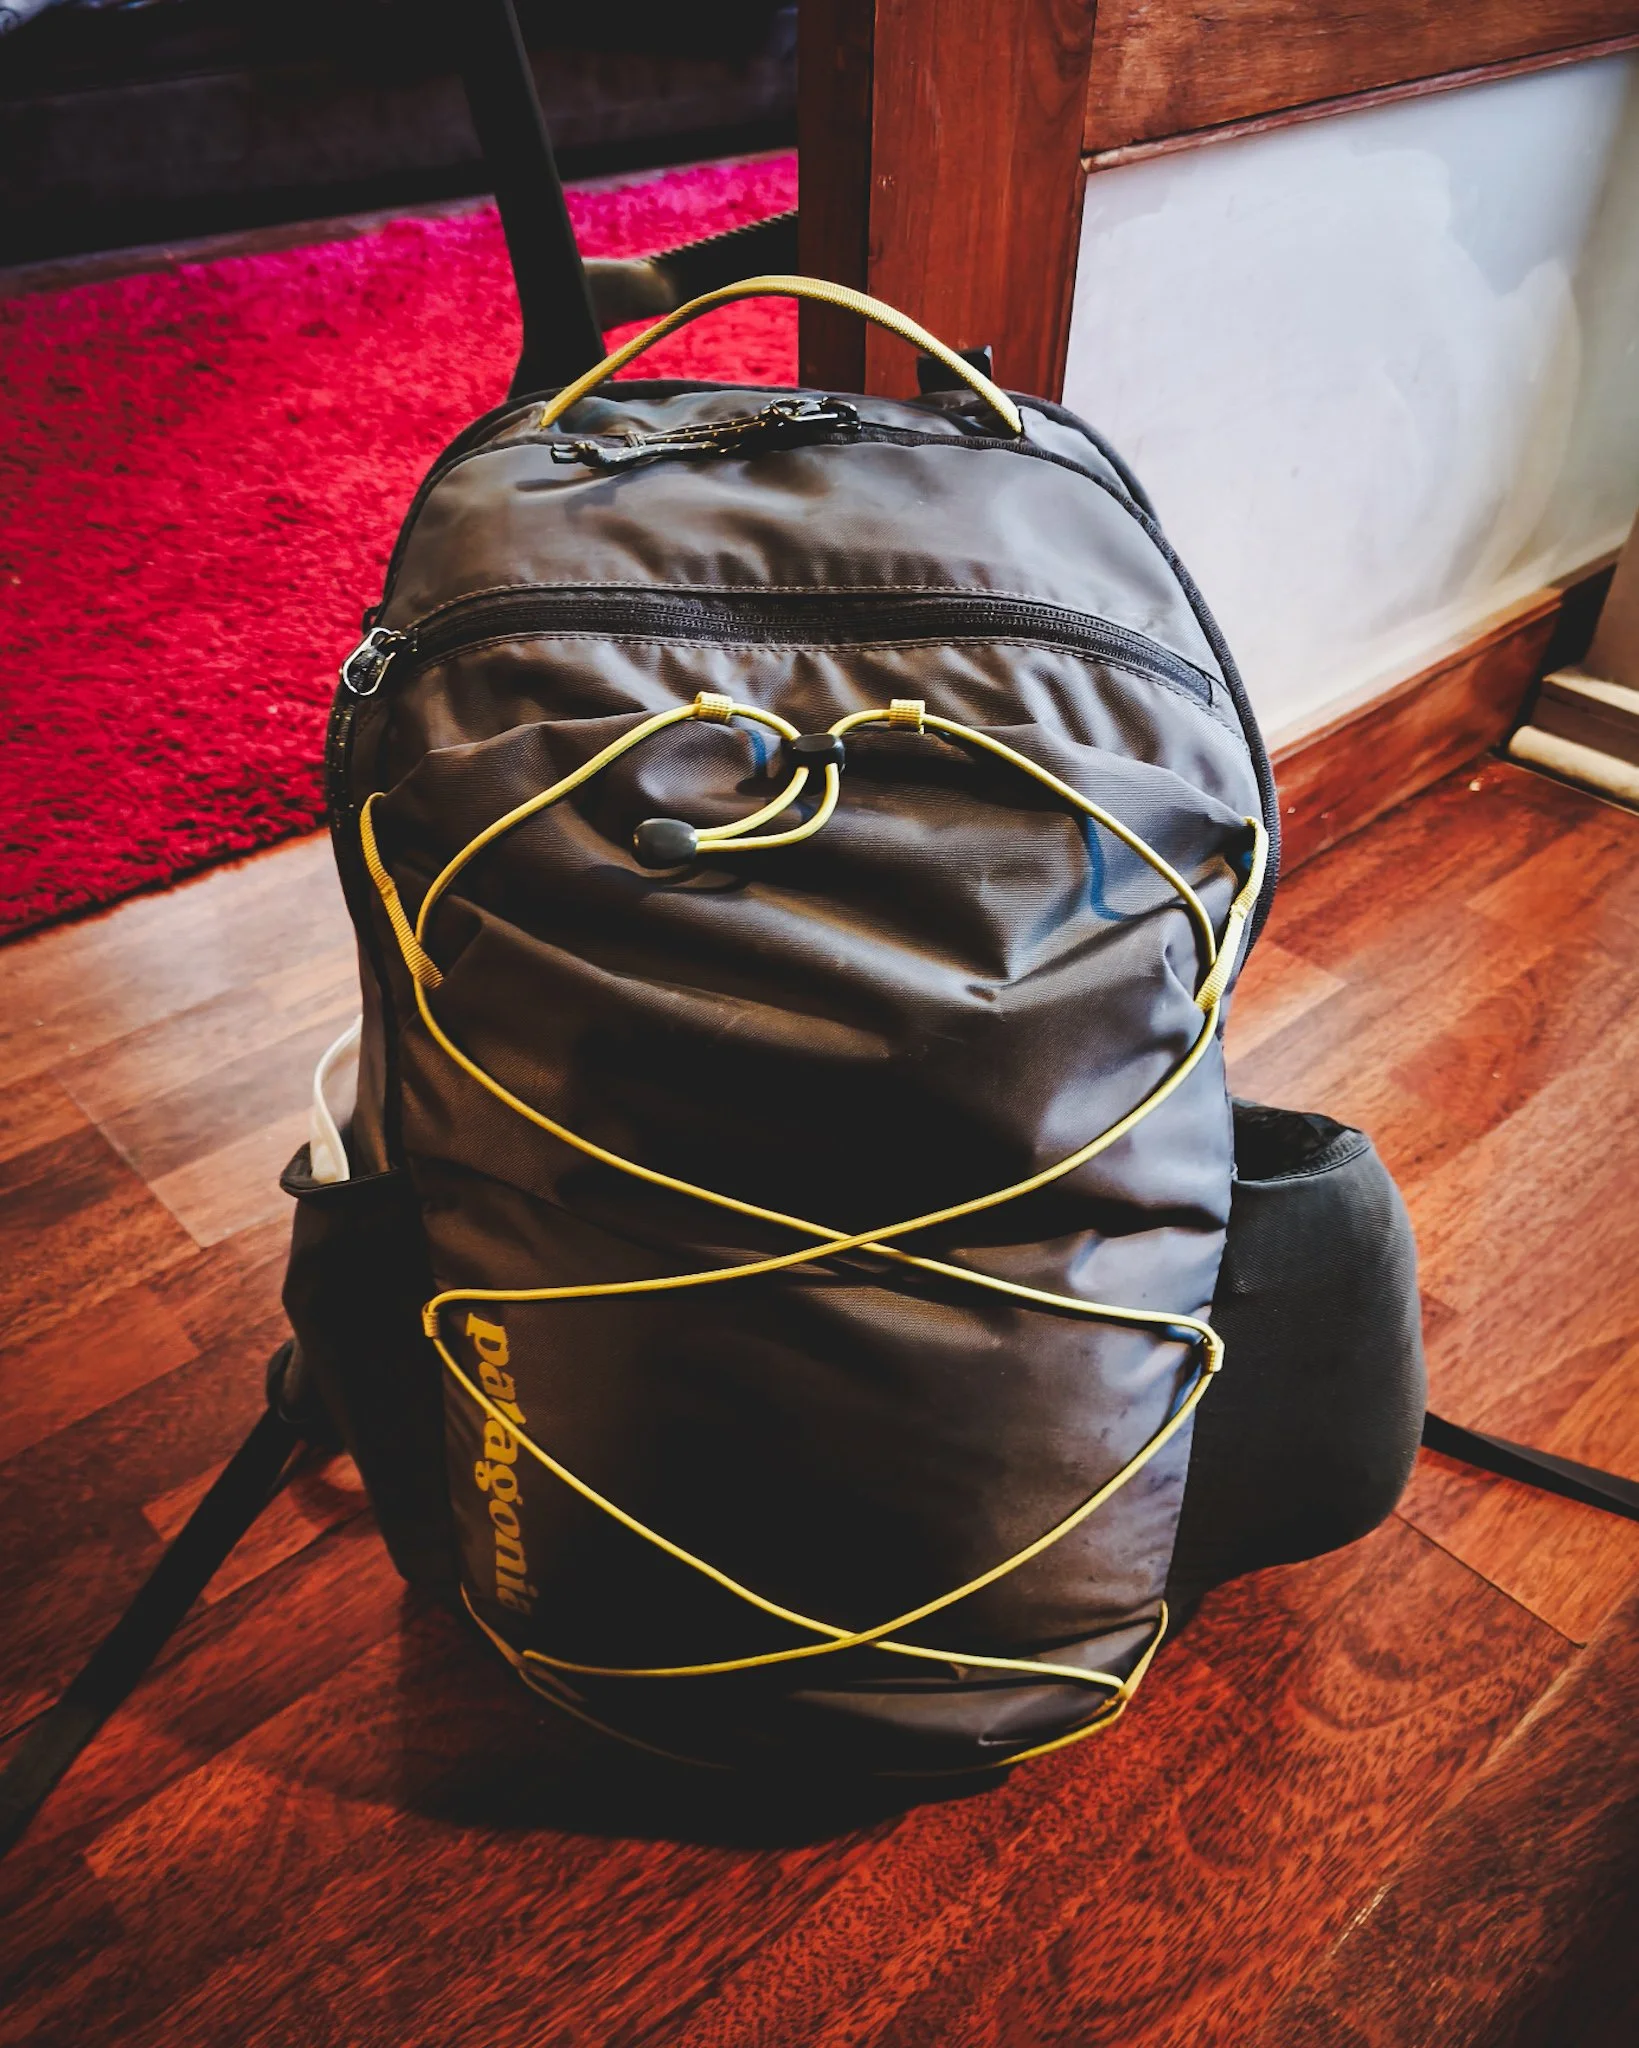
My packed Patagonia Refugio 30L
Packing Layout
Here is my packing layout for my 30L backpack and the step-by-step order I pack it. I start with the laptop sleeve first so the flat, rigid tech layer is set before I load the main compartment. And the main compartment is a simple bucket that I fill with a few structured organizers (packing cubes + pouches), with small items tucked around the edges.
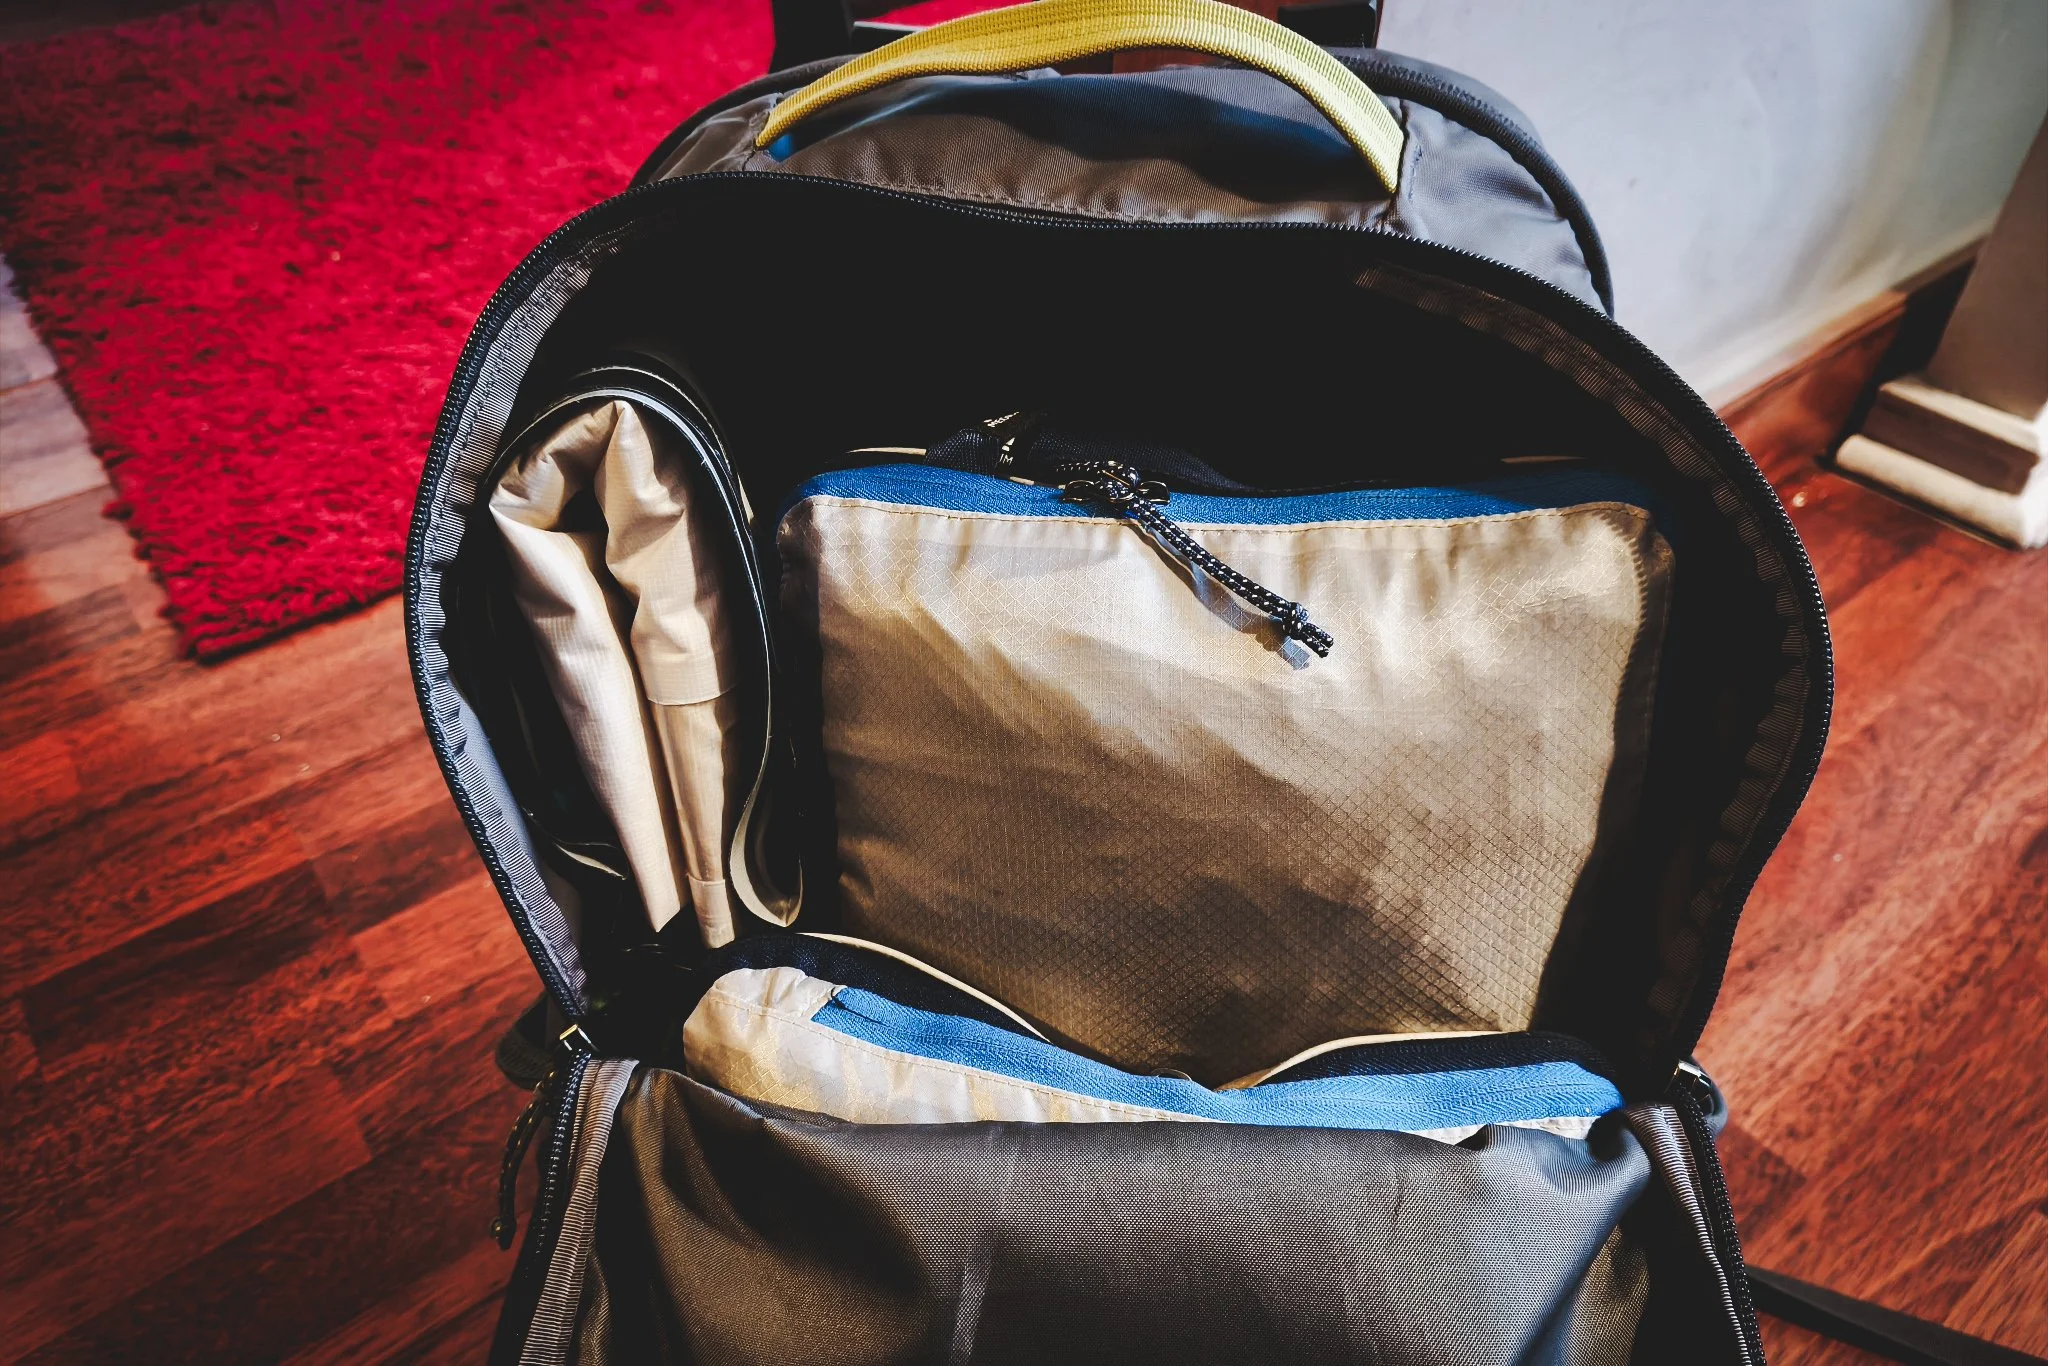
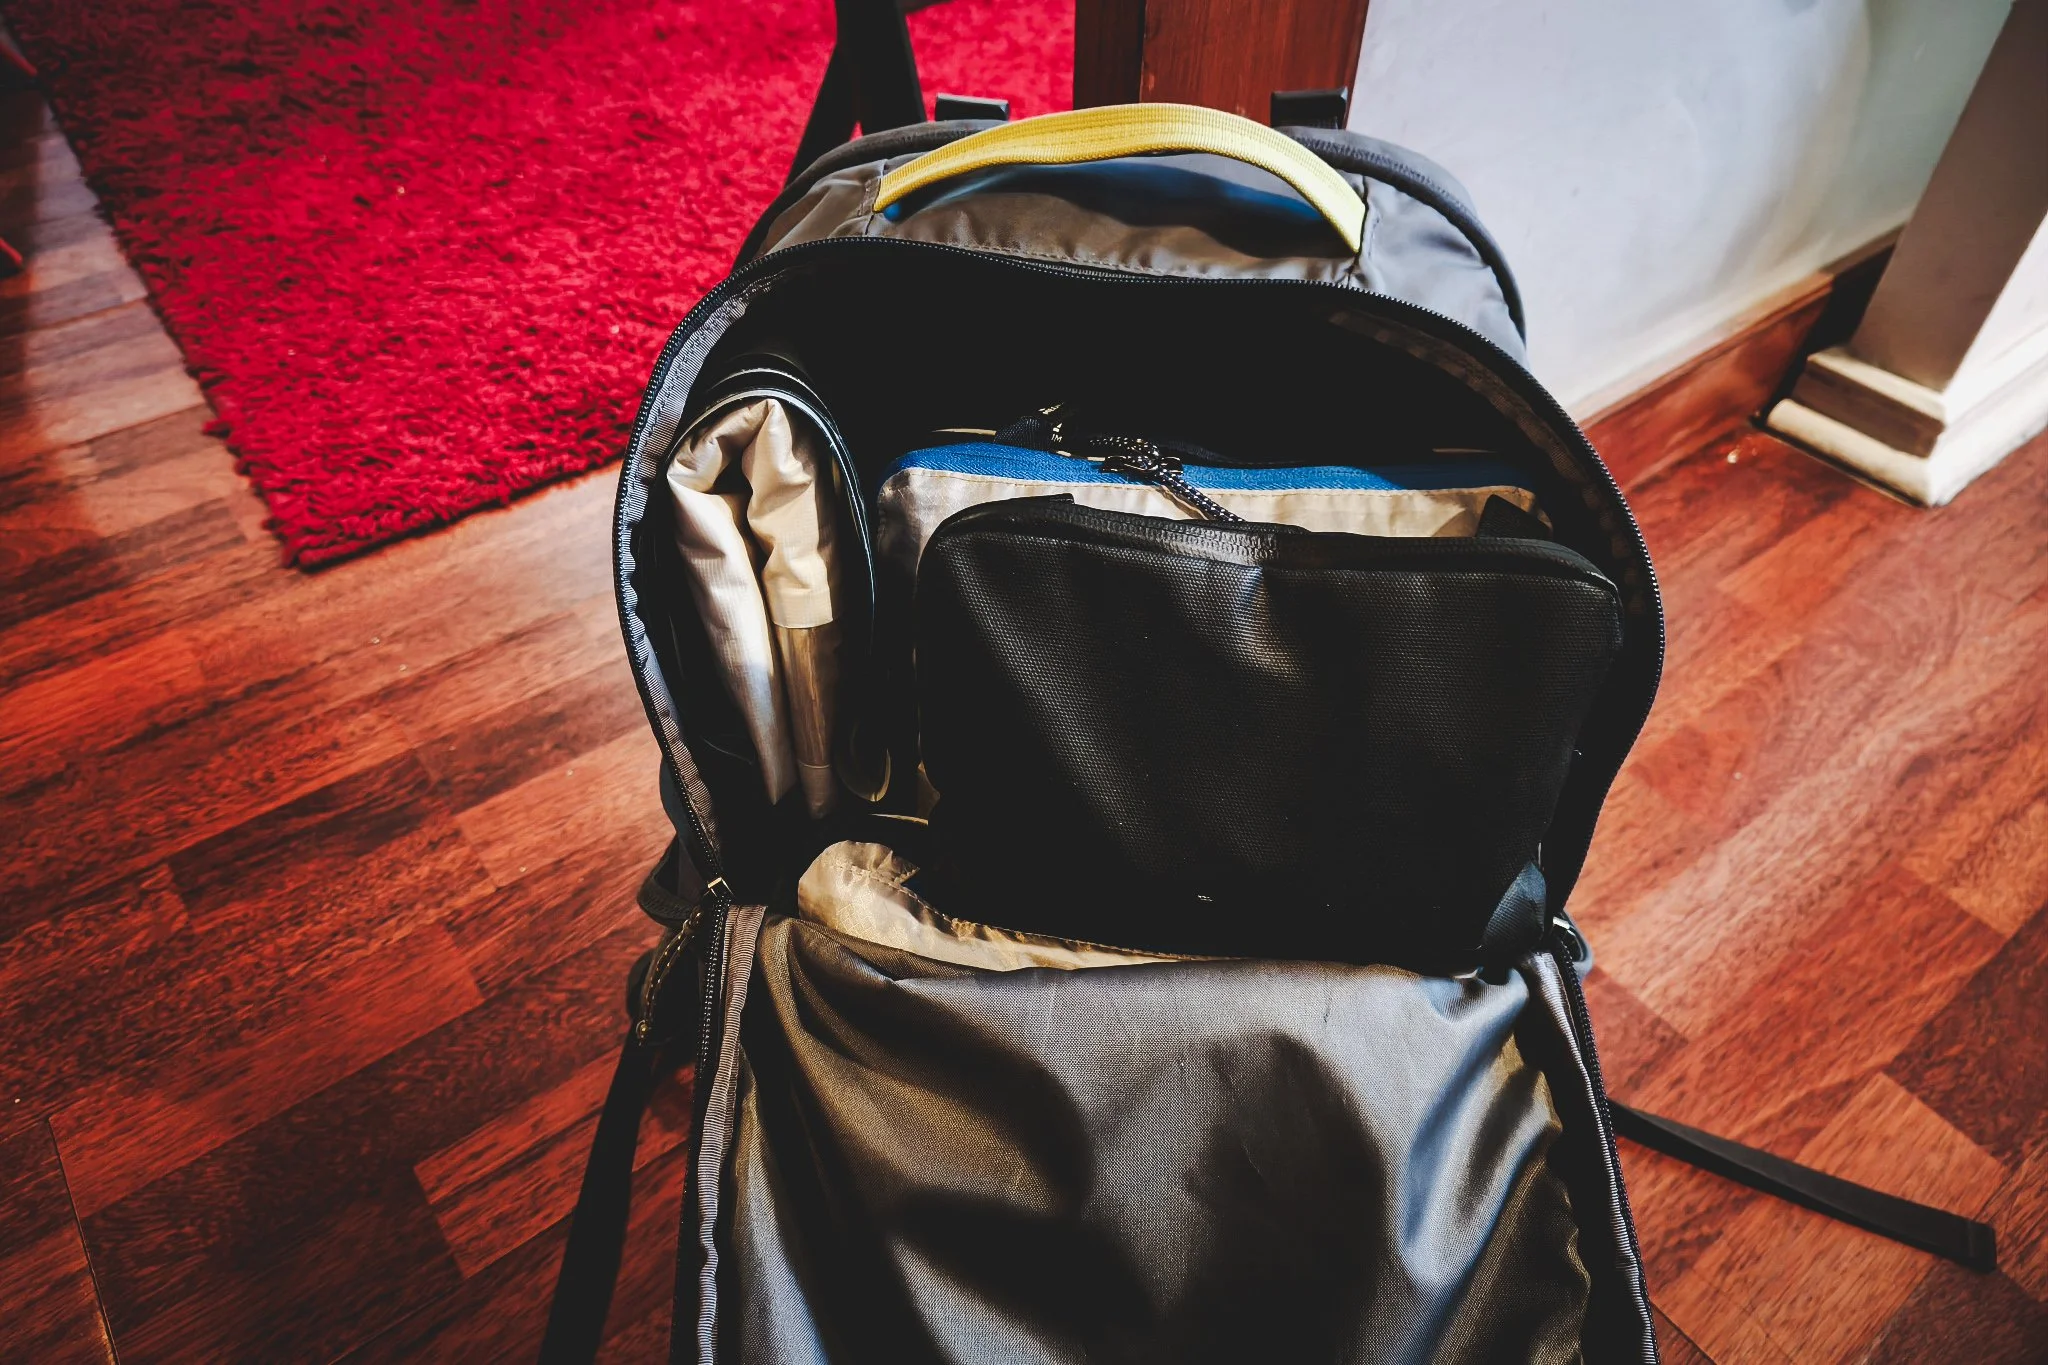
Step 1: Laptop sleeve / tech organizer
Laptop compartment: laptop (my 14-inch MacBook Pro fits comfortably), sometimes an e-reader
Mesh pockets: backup wallet/cards + some cash, laundry detergent sheets + a travel clothesline, and small misc. items (pen, etc.)
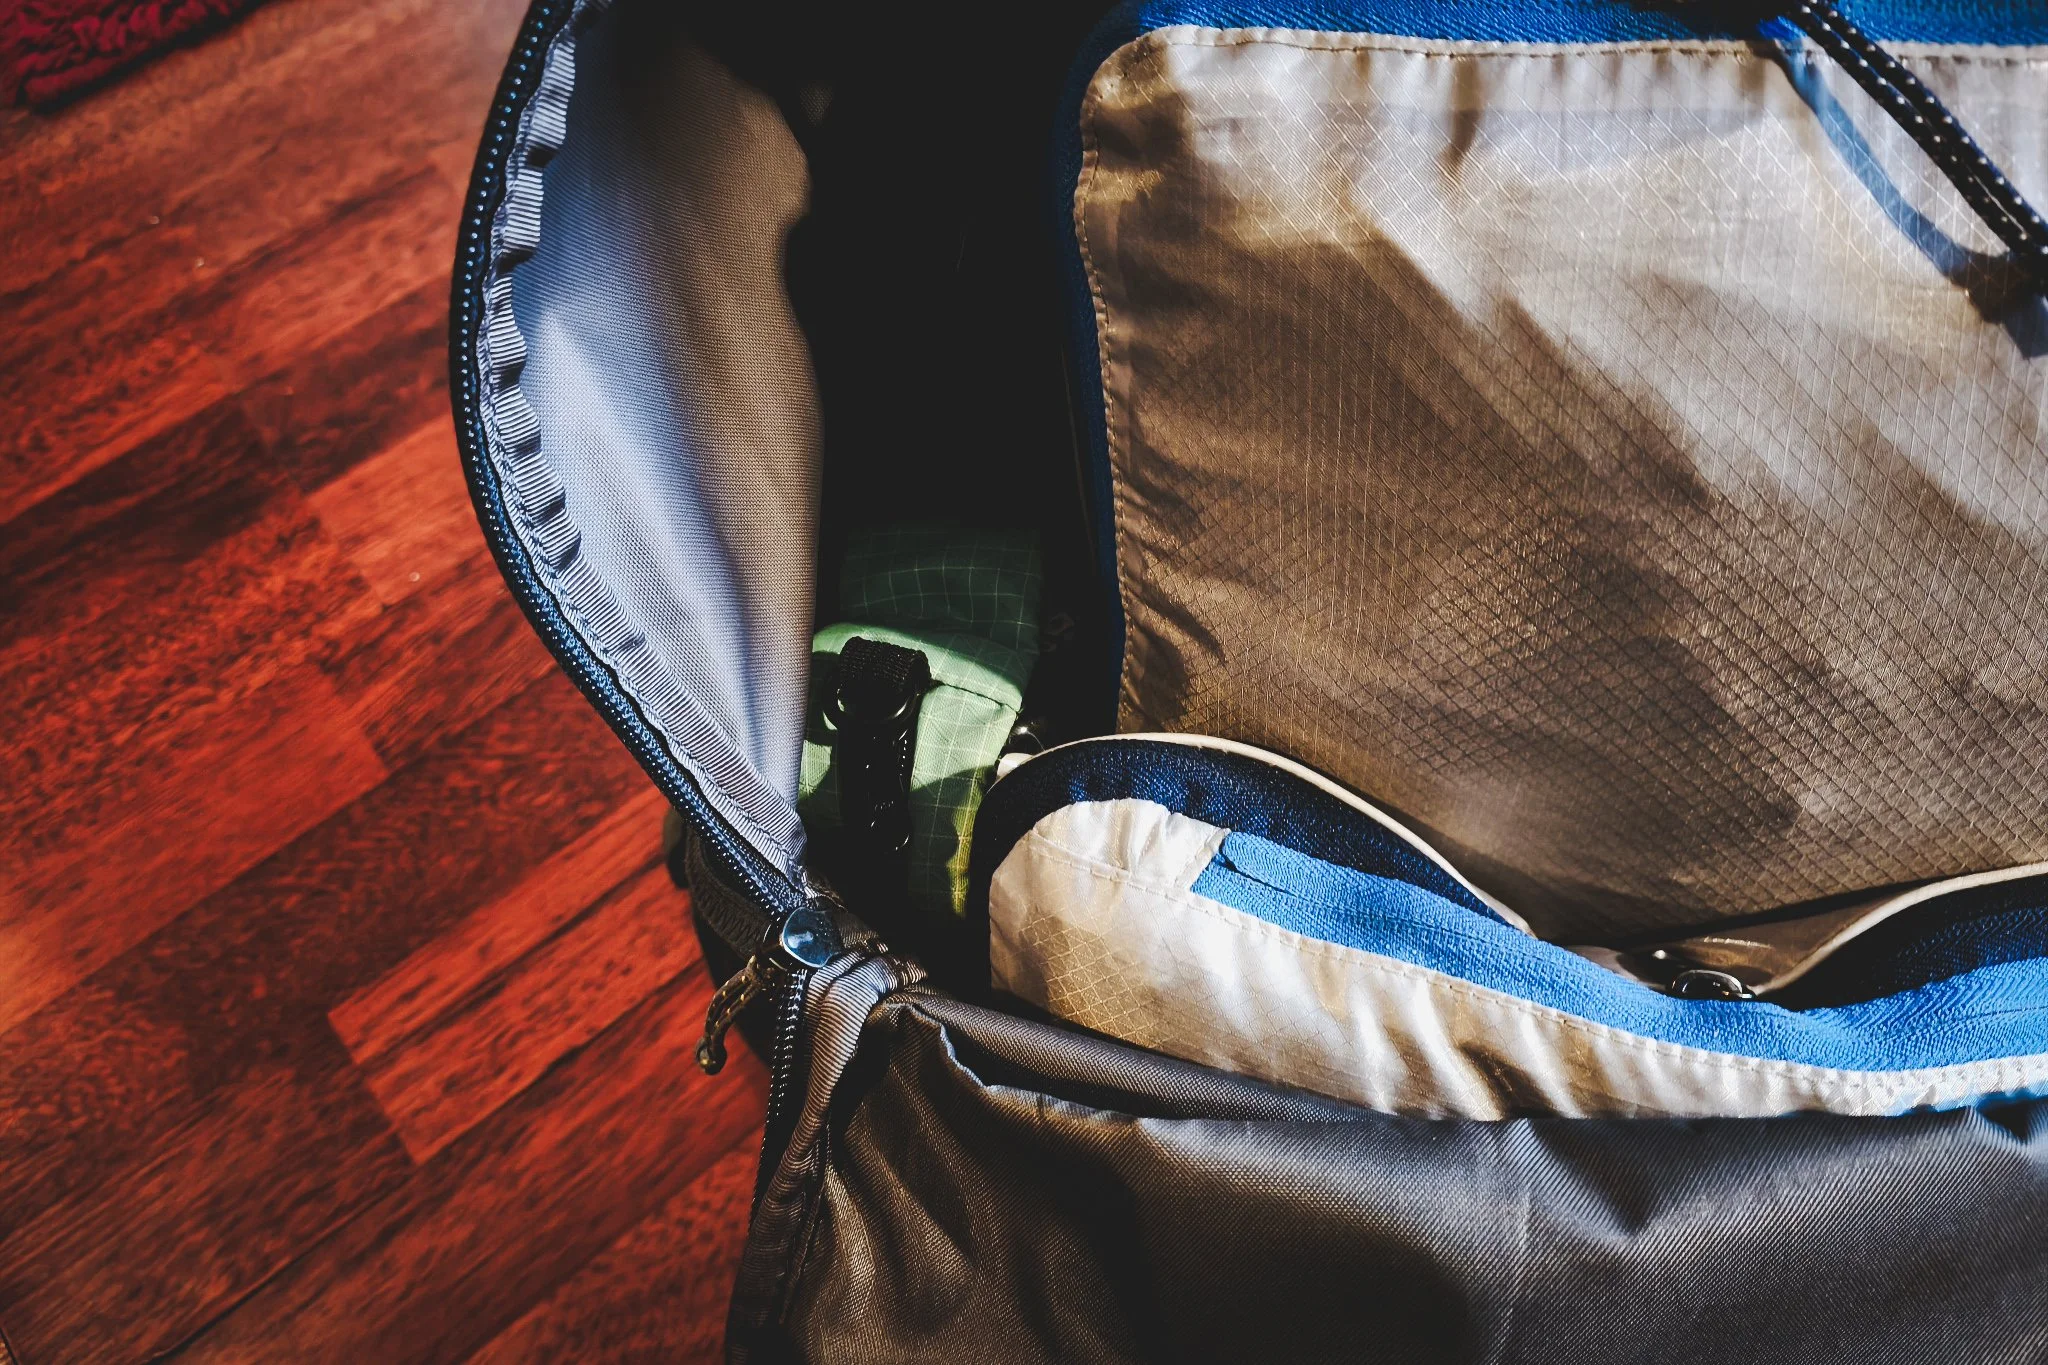
Step 2: Main compartment
Bottom
Shoe bag with my second pair of shoes
Flat against the back panel (slightly right)
Laundry bag (this stays flat so it doesn’t steal usable volume)
Center stack
Large compression packing cube: all clothing
Small compression packing cube (bottom/front): underlayers + socks
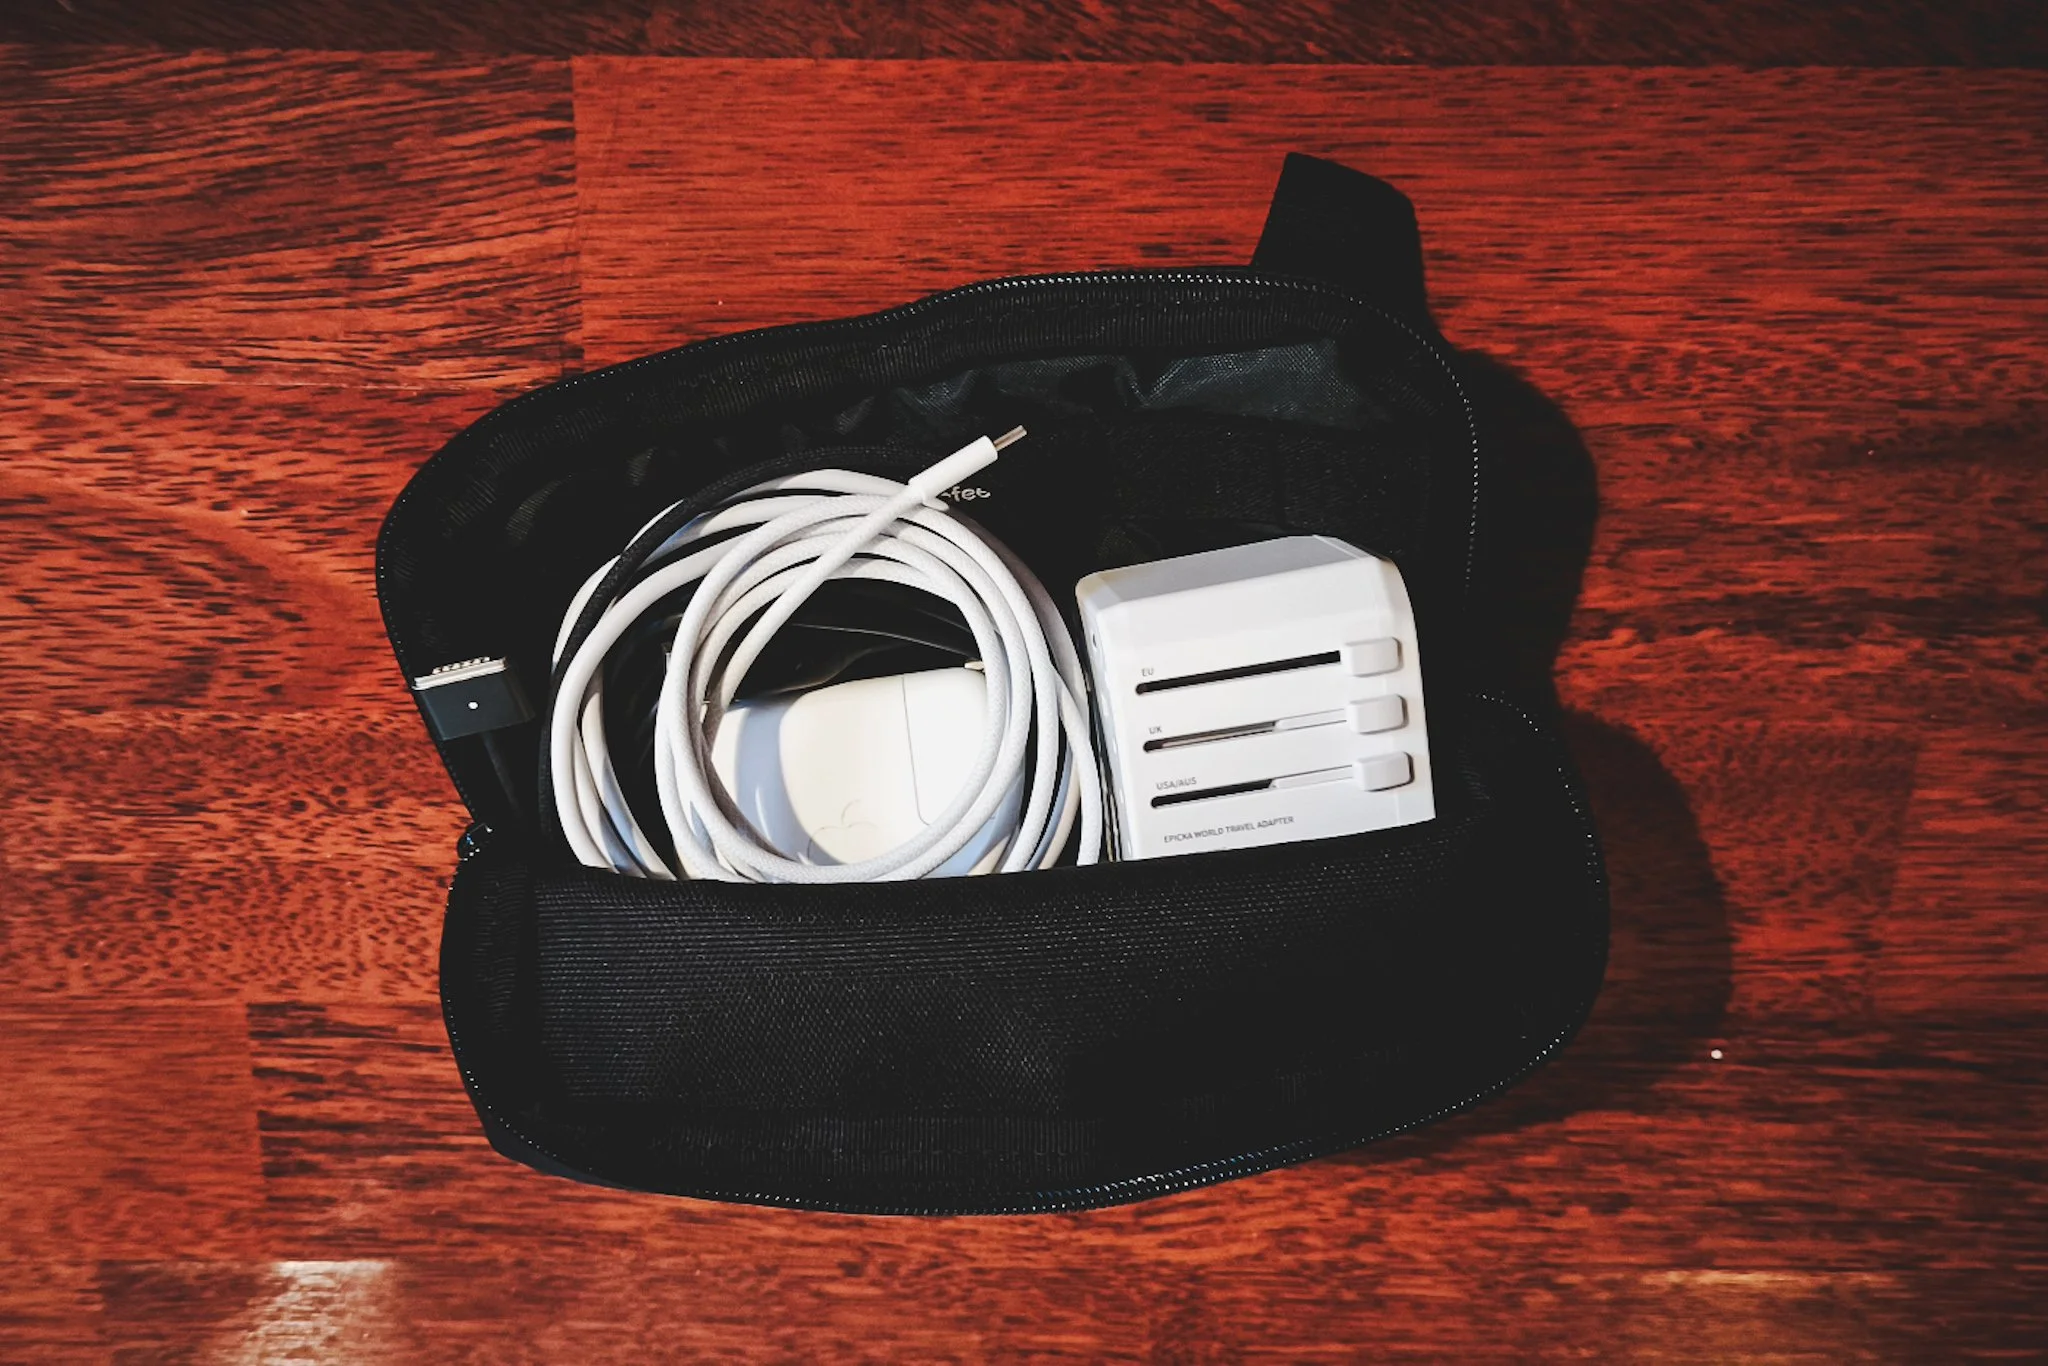
Tech pouch (top/front): chargers + cables
Left side
Bottom: toiletries pouch
Top: packed laundry wash bag + small miscellaneous pouch
Top / quick-grab space
Glasses case
Optional: small first aid pouch
Extra space
I usually leave a little room in the main compartment for snacks, a light layer, or anything I pick up while traveling.
Step 3: Front pocket (small)
This changes depending on the day, but could contain:
Lip balm
Portable charger
A charging cable
Step 4: Side mesh pockets
Pocket 1: packed Patagonia Nano Puff Jacket (*) (my most important cold-weather layer)
Pocket 2: exercise gear (e.g., a jump rope) and/or a water bottle (not pictured)

What I carry separately: essentials sling
In addition to the backpack, I carry a small sling that stays on me at all times with:
Passport
Phone
Wallet
AirPods
Lip balm
Any other essentials for the day (like a packed ultralight windbreaker)
My current sling is the Osprey Ultralight Collapsible Stuff Waist Pack (*).
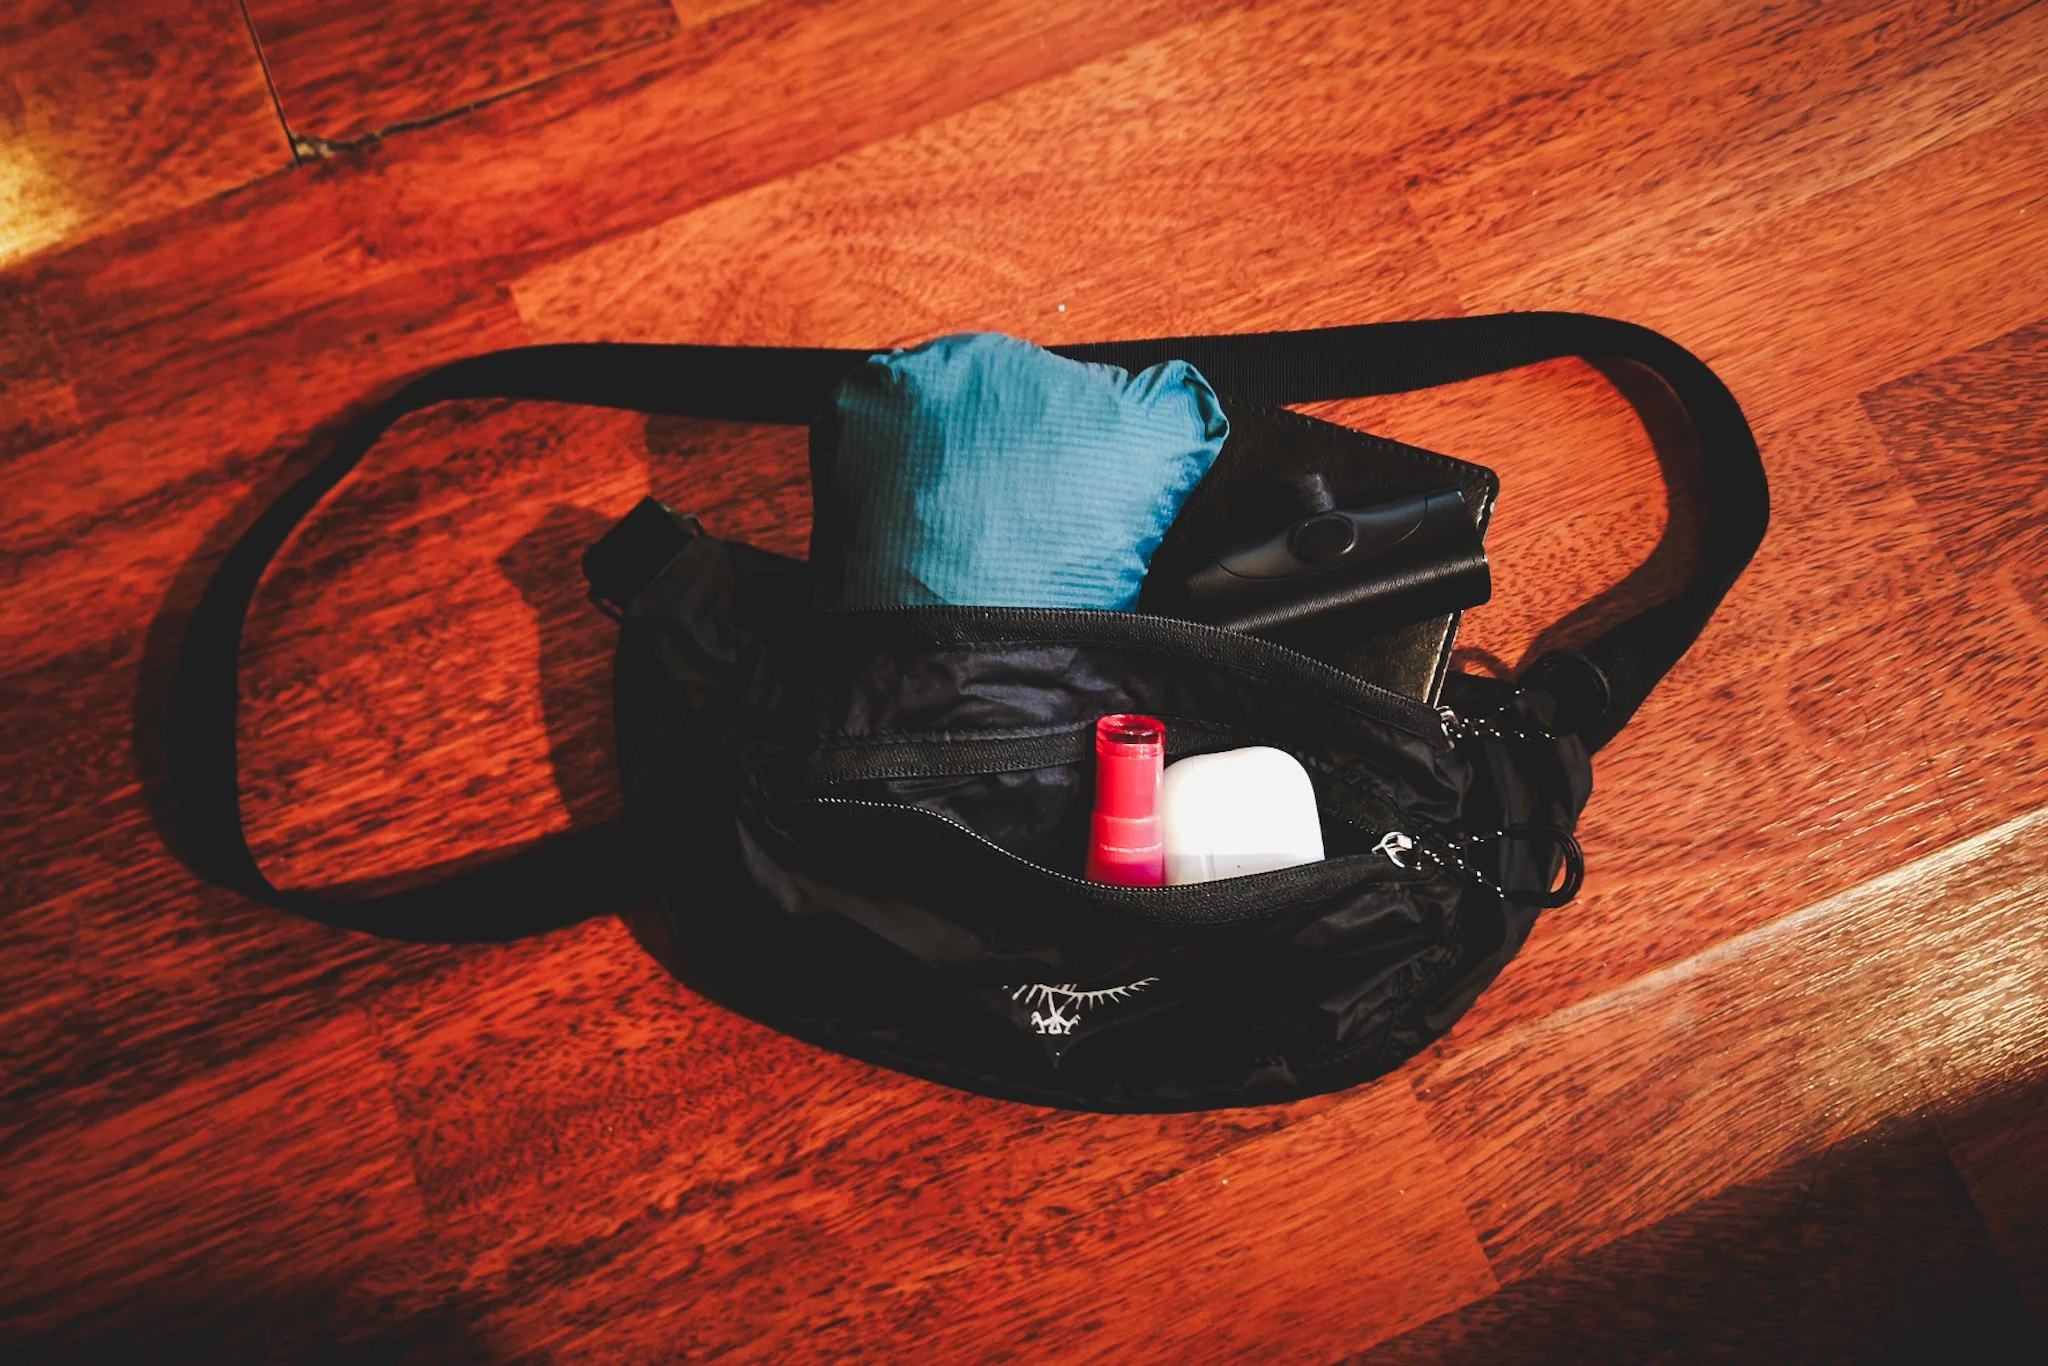
My essentials sling bag with the items that go in there for a trip to the south of Chile. A windbreaker was a must – my Patagonia Houdini was packed small here.
What’s in Each Packing Cube & Pouch
Here’s the high-level breakdown of what goes where. I pack by function (clothing / hygiene / tech / misc.) so I can unpack and repack quickly. For the full item-by-item list (and exact products), see my One-Bag (30L) Packing List for Full-Time Four-Season Travel.
Large compression packing cube: main clothing (my ~15-piece travel capsule) → 15 Pieces, 20+ Outfits: My 4-Season One-Bag Travel Capsule
Small compression packing cube: underwear, bras, and socks
Shoe bag: second pair of shoes (usually ultra-light waterproof flip flops) → My Two-Pair Shoe Strategy for One-Bag (Carry-On Only) Travel
Toiletries pouch: toiletries + skincare + minimal makeup (the pouch is clear to keep it TSA-friendly)
Tech pouch: chargers + cables
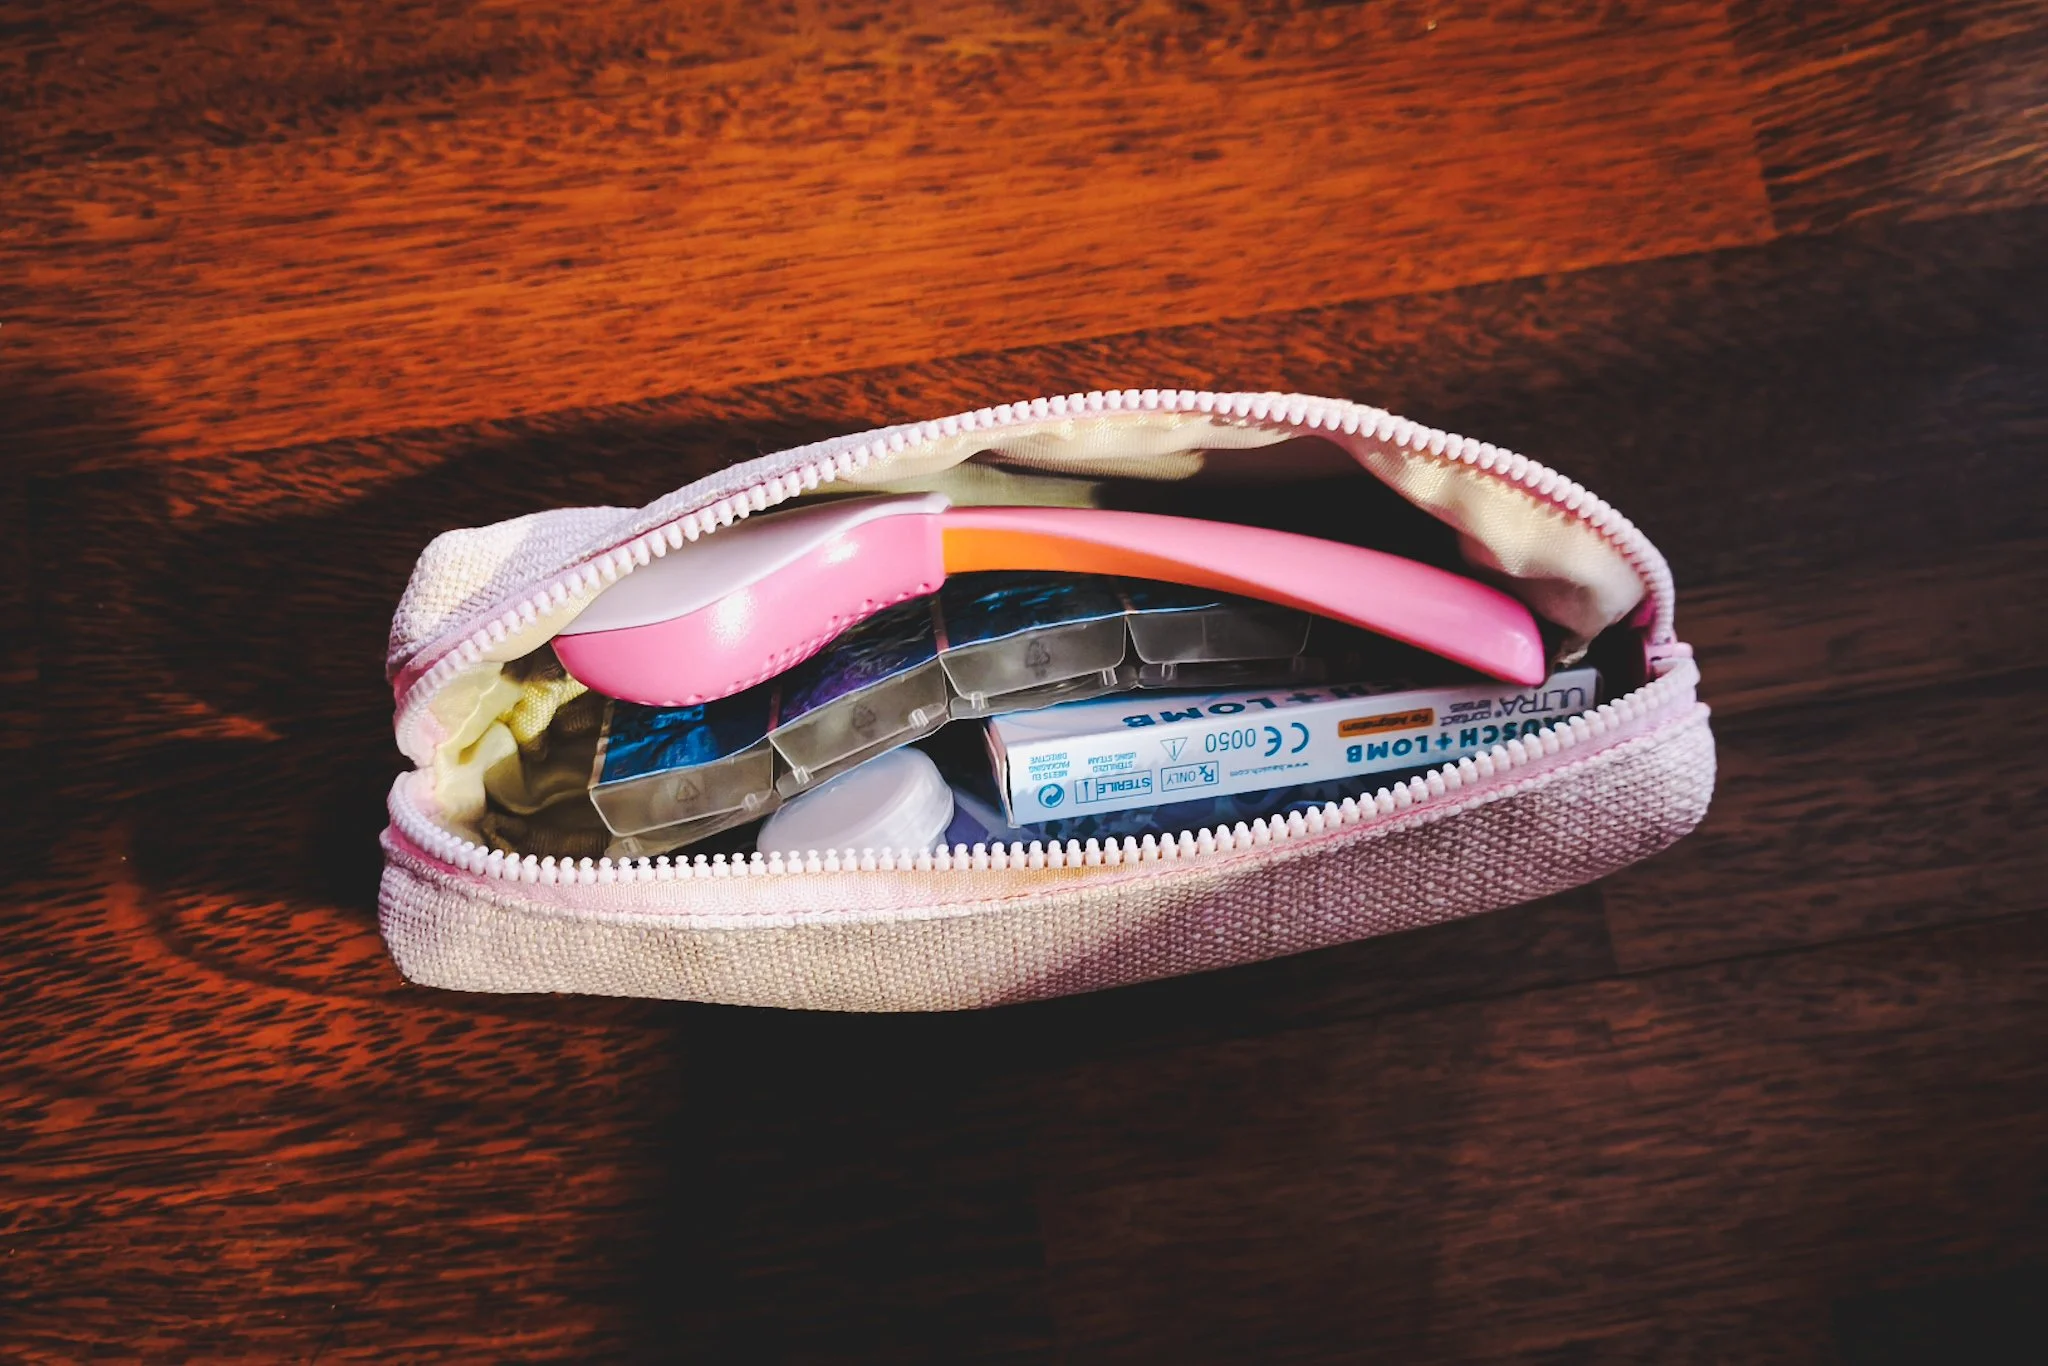
Misc pouch: small essentials (razor, additional contact lenses, etc) + first aid
Laundry bag: starts empty; becomes my dirty-clothes bag on the road → One-Bag Laundry: My Portable System for Washing Clothes Anywhere


4 Rules That Make it Work
#1: Use packing cubes (organization + space efficiency)
Packing cubes and small organizer pouches keep everything grouped by theme, so I always know where things are, and I can unpack at my destination in about 30 seconds by pulling out just a few cubes and pouches.
They also make the bag pack far more efficiently. One-bag packing is basically Tetris: the more regularly shaped your “pieces” are, the easier it is to stack them tightly and reduce dead space.
My favorite compression cubes are the Eagle Creek Pack-It Isolate (S & M) (*). They’re lightweight but sturdy, and after years of daily use as my de facto closet, they’re still like new.
#2: Pack heavy items close to your back
Physics says that forces farther away from the axis of rotation generate more torque, which is just a fancier way of saying that heavy items packed farther from your back will drag you down more.
So to keep the backpack more comfortable, I put the dense stuff in first and flatter against the back (for me, that’s usually my largest clothing cube and other heavier pouches).
I’ll break this rule occasionally for access – like keeping my tech pouch nearer the top/front – but in general, “heavy and close” makes the biggest difference in how the backpack carries.
#3: Keep travel-day essentials easy to reach
One of the things I hate is having to undo everything in the hectic airport environment to reach something packed deeper in the bag. So anything I might need while in transit stays near the top/front.
For me, that’s usually:
Tech pouch (charging while waiting in transit)
Toiletries pouch (occasionally, if I expect a security line that requires pulling out liquids. But I much prefer it on the bottom of the bag because of its weight)
#4: Separate clean and dirty items
This is partly personal preference, but I need to keep the inside of my bag, where it has all of my clean clothes and toiletries, well, clean. So I make sure to separate my clean and dirty items with barriers.
That’s why:
A shoe bag is a must for me
Anything that’s “outside dirty” (like exercise gear) goes in the external mesh pockets instead of the main compartment
Thanks for reading – happy packing!
Have a question about this?
Shoot me a message or leave a comment below — I read everything, and I’m always happy to help if I can!